Of all the rooms in our apartment, Jack’s nursery was my favorite! It was the only room I sat down and designed purposefully. I searched for the perfect woodland nursery decor, rearranged the furniture ten times (on paper), and dreamed about rocking my newborn to sleep.
We just celebrated Jack’s second birthday, but his nursery remained largely the same until our recent move.
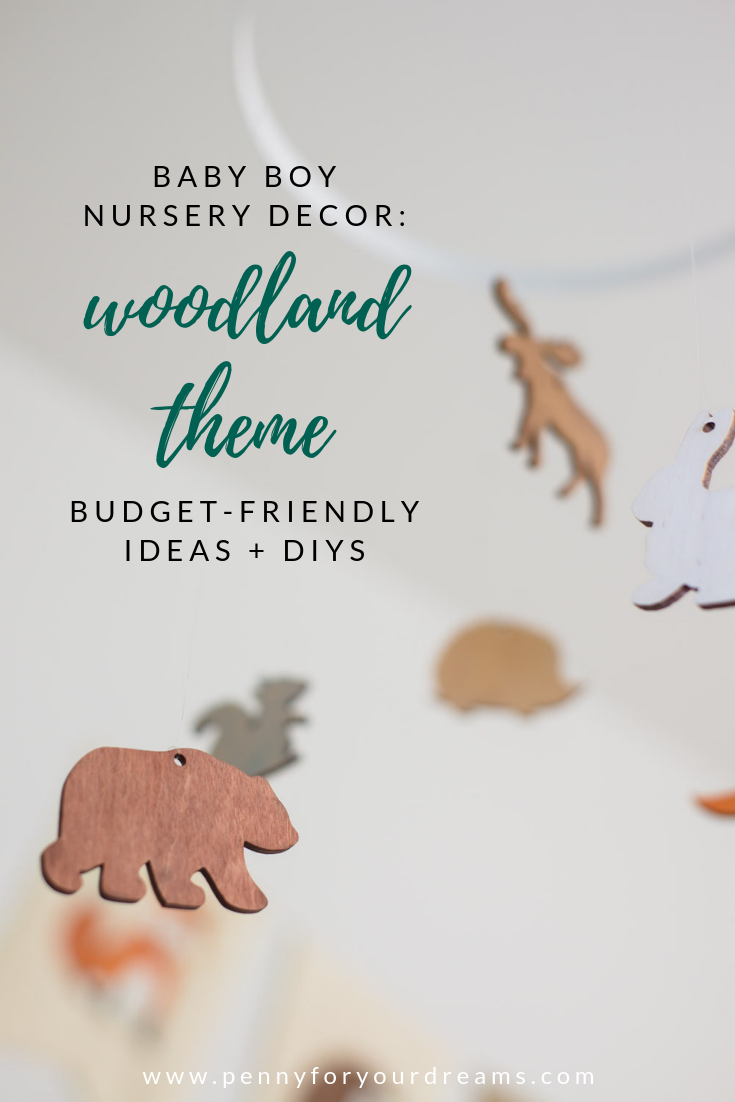
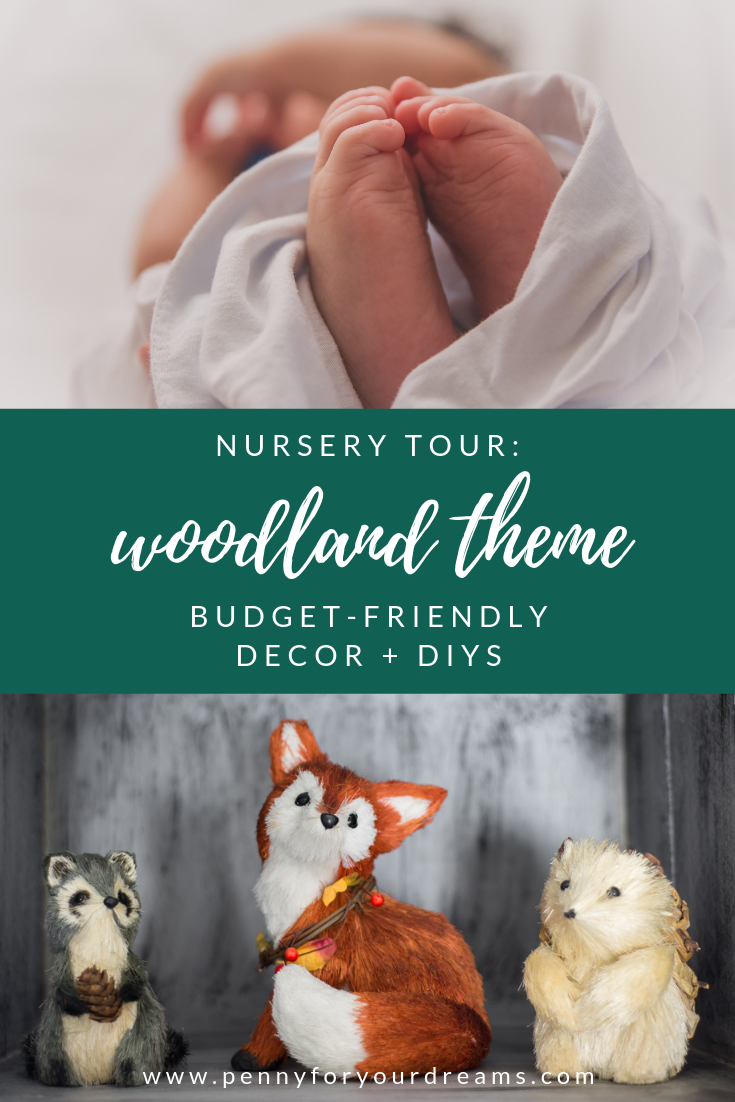
WOODLAND NURSERY DECOR
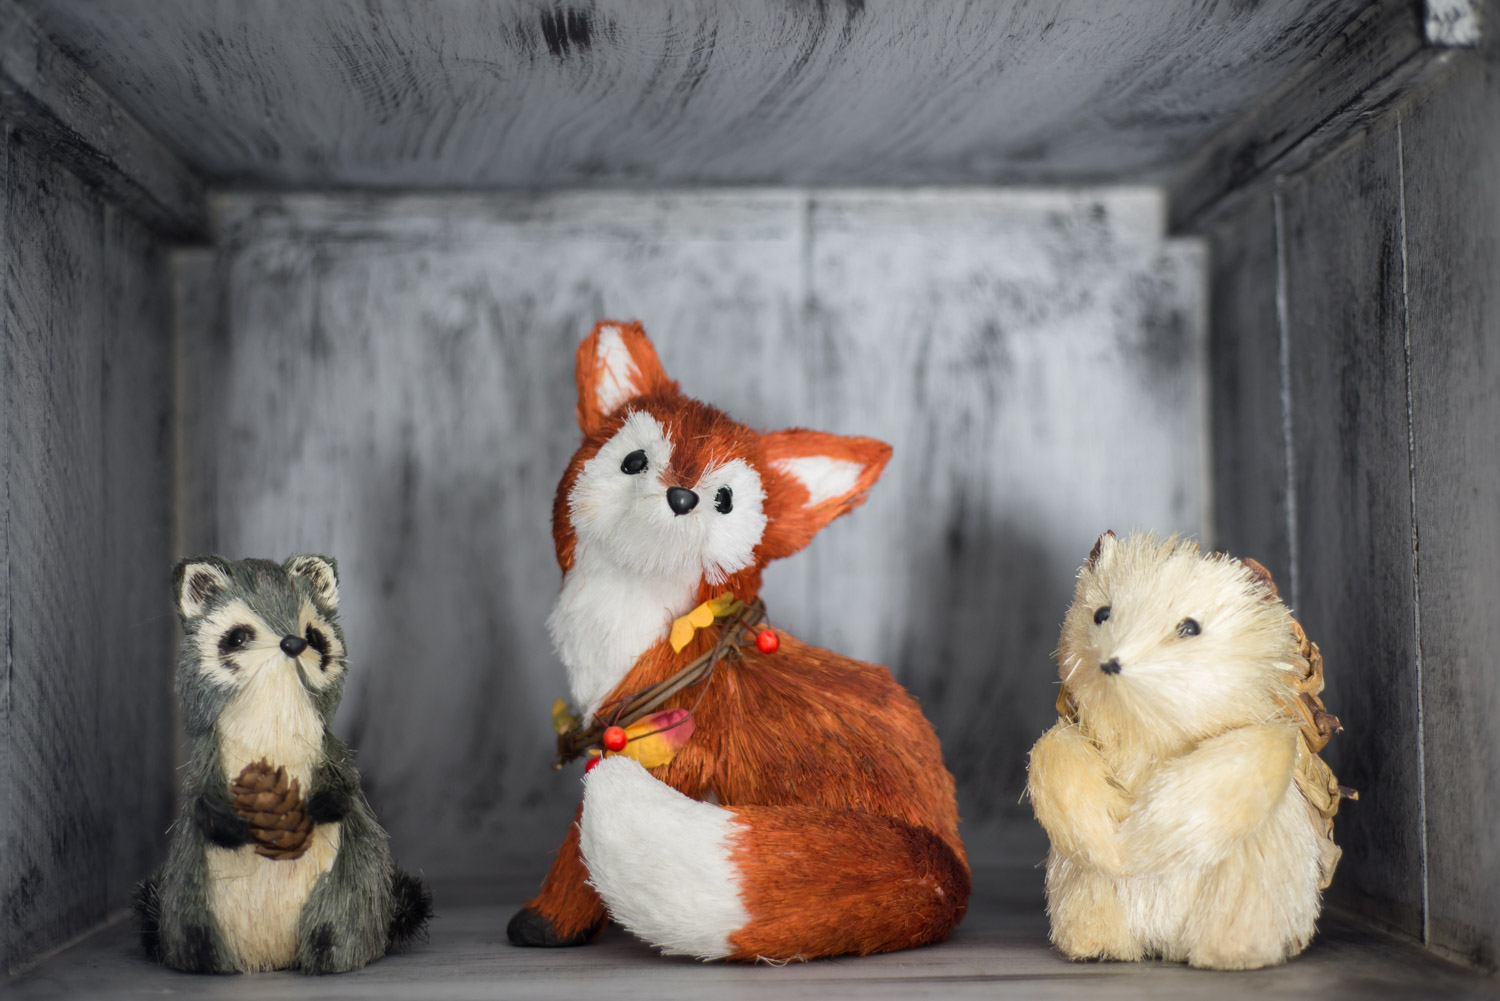
We wanted a soft, yet boyish feel to the room, so going with woodland nursery decor seemed like the perfect fit! The main colors we chose were white, greys, and browns—with touches of red-orange and natural greens.
I tried to bring in a variety of natural textures, such as wood, cotton, knits, and fur to bring a rustic warmth to the room.
Let’s do a little nursery tour!
BUDGET
Our budget for Jack’s woodland nursery decor was pretty small.
We turned the dresser that was being used as a sideboard in the kitchen (long story) into a changing station, and brought in the bookcase from another room. His crib was a baby shower gift. The only piece furniture we purchased new was the glider.
Quite a few of our woodland nursery decor pieces were DIYs, and some were purchased on sale or clearance at Hobby Lobby and JoAnn Fabrics. We also used lots of coupons. 😉
I’ll link anything I find online below for you!
 This post contains affiliate links, and some links below will take you to Amazon. You can read my disclosure policy here.
Woodland Theme Nursery Tour
Before we moved, I recorded some footage of Jack’s nursery and just recently put it all together in a video!
The Mini Crib
Because we lived in a small apartment, we chose a mini crib for Jack’s nursery. He’s two now, and it still fits him just fine. The style is simple, but sweet, and it’s well-constructed.
>>LINKS:
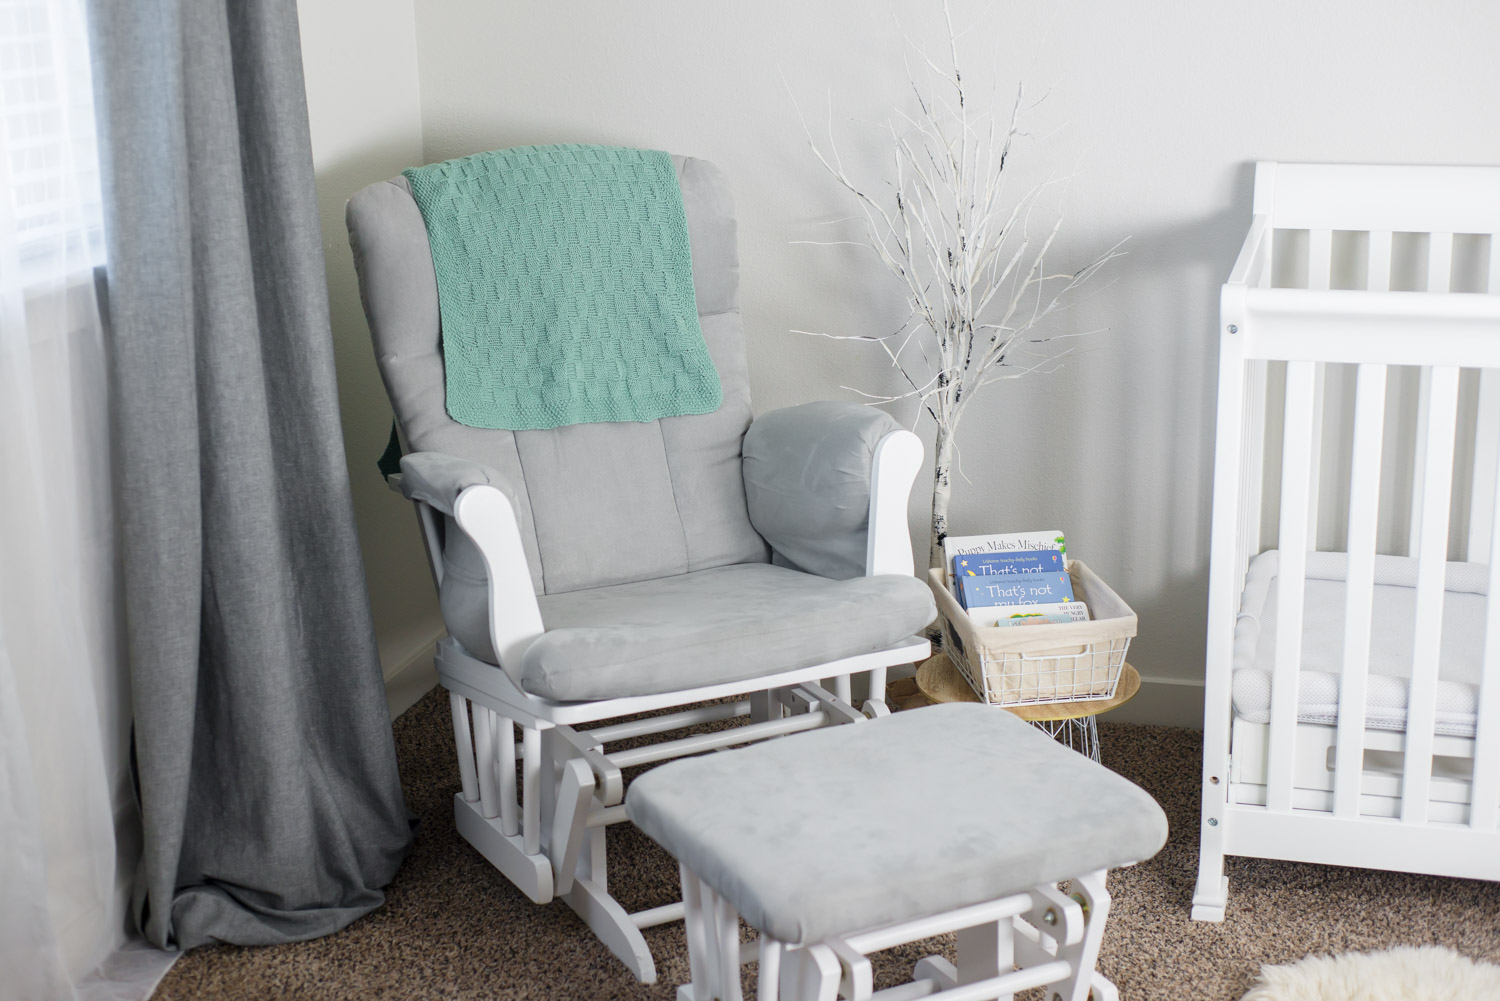
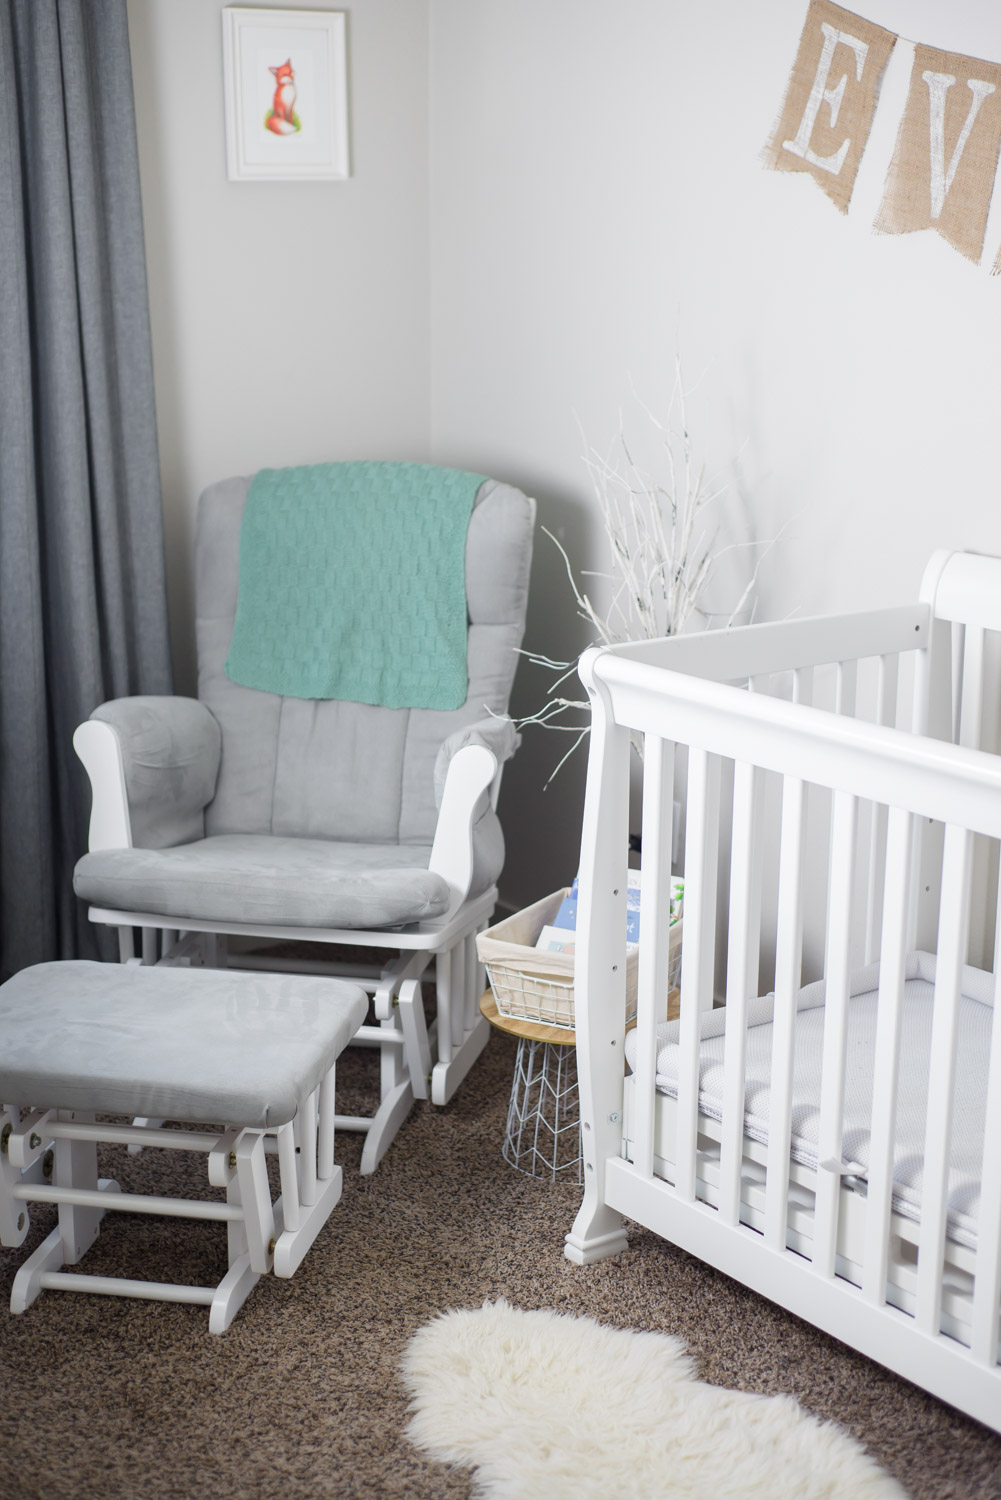
GLIDER AND OTTMAN
Before Jack was born, Benj and I were on the hunt for a nice, comfortable glider and ottoman at a good price. We went around town to different stores and rocked in a ridiculous number of chairs.
I finally found the perfect chair, comfortable and beautiful. Then I glanced at the price tag—$600. gulp. Never mind…
So we took a gamble ordering this rocking chair and ottoman online. It was so affordable, and I wondered if it would hold up. Spoiler alert—it has held up beautifully! We’ve used it every single day for the past two years, and it’s still in excellent shape!
The glider is incredibly comfortable (perfect for those long nursing sessions!), and is such a classic, versatile style.
>>LINKS:
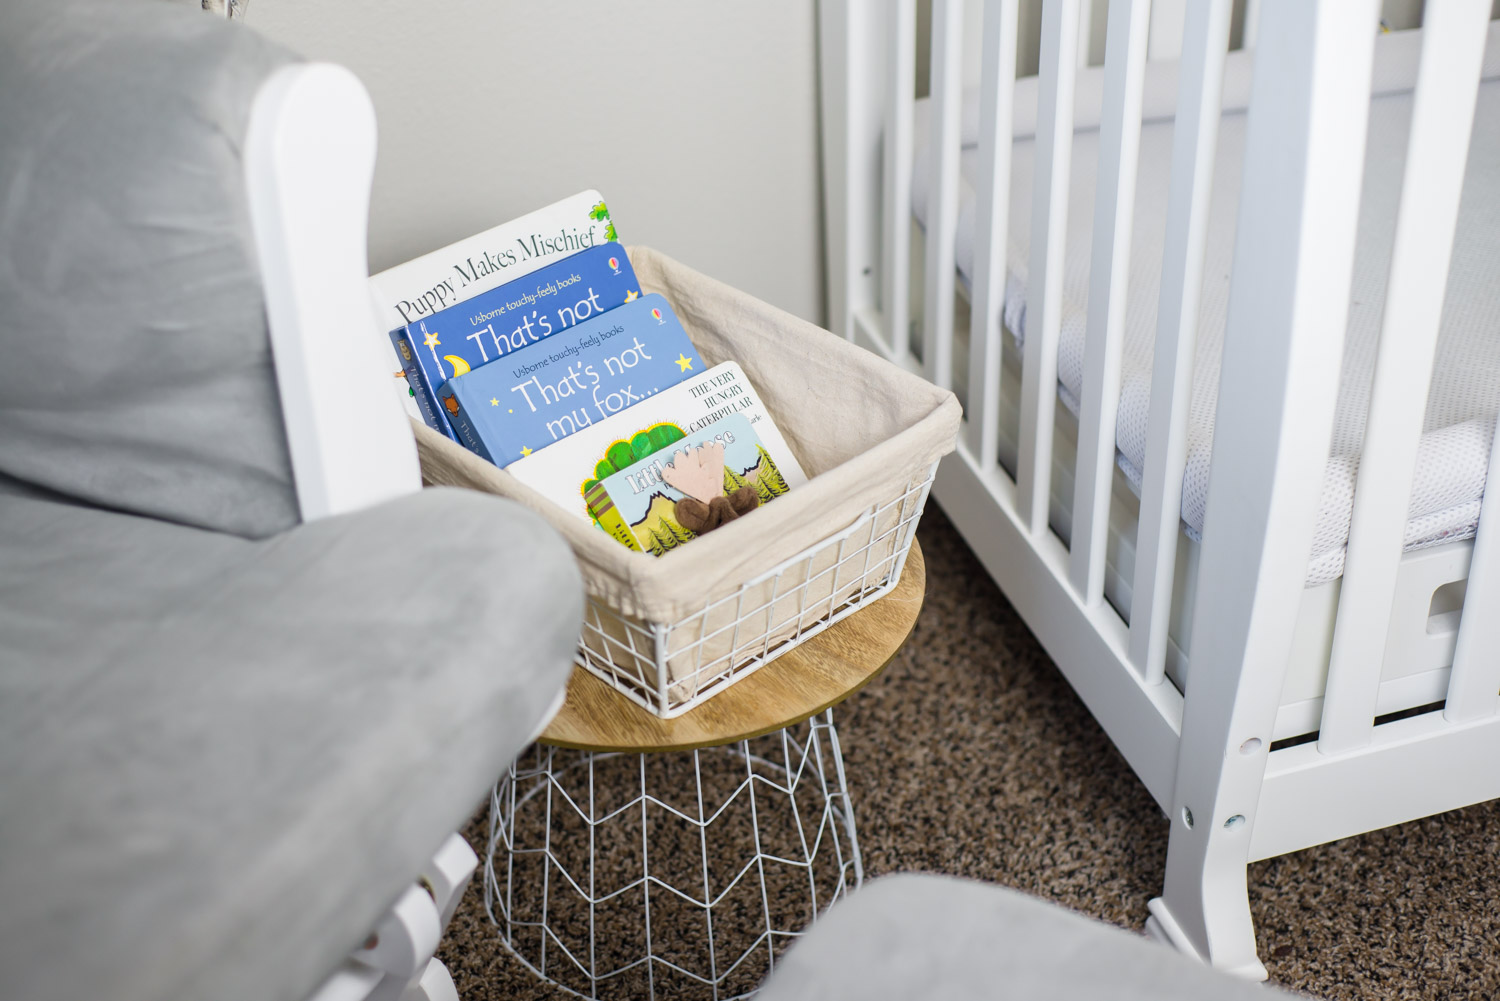
DIY SMALL NURSING TABLE
I knew that I wanted a small table for the newborn days to hold a basket with my water bottle and other nursing essentials. I couldn’t find one I liked at a good price, so I made my own!
This was a super easy DIY! We turned a wire trash can upside down and hot glued a round charger plate on top. Both items came from the Target Dollar Spot for just $3 each.
Later on, I just filled the basket with a few of Jack’s favorite board books.
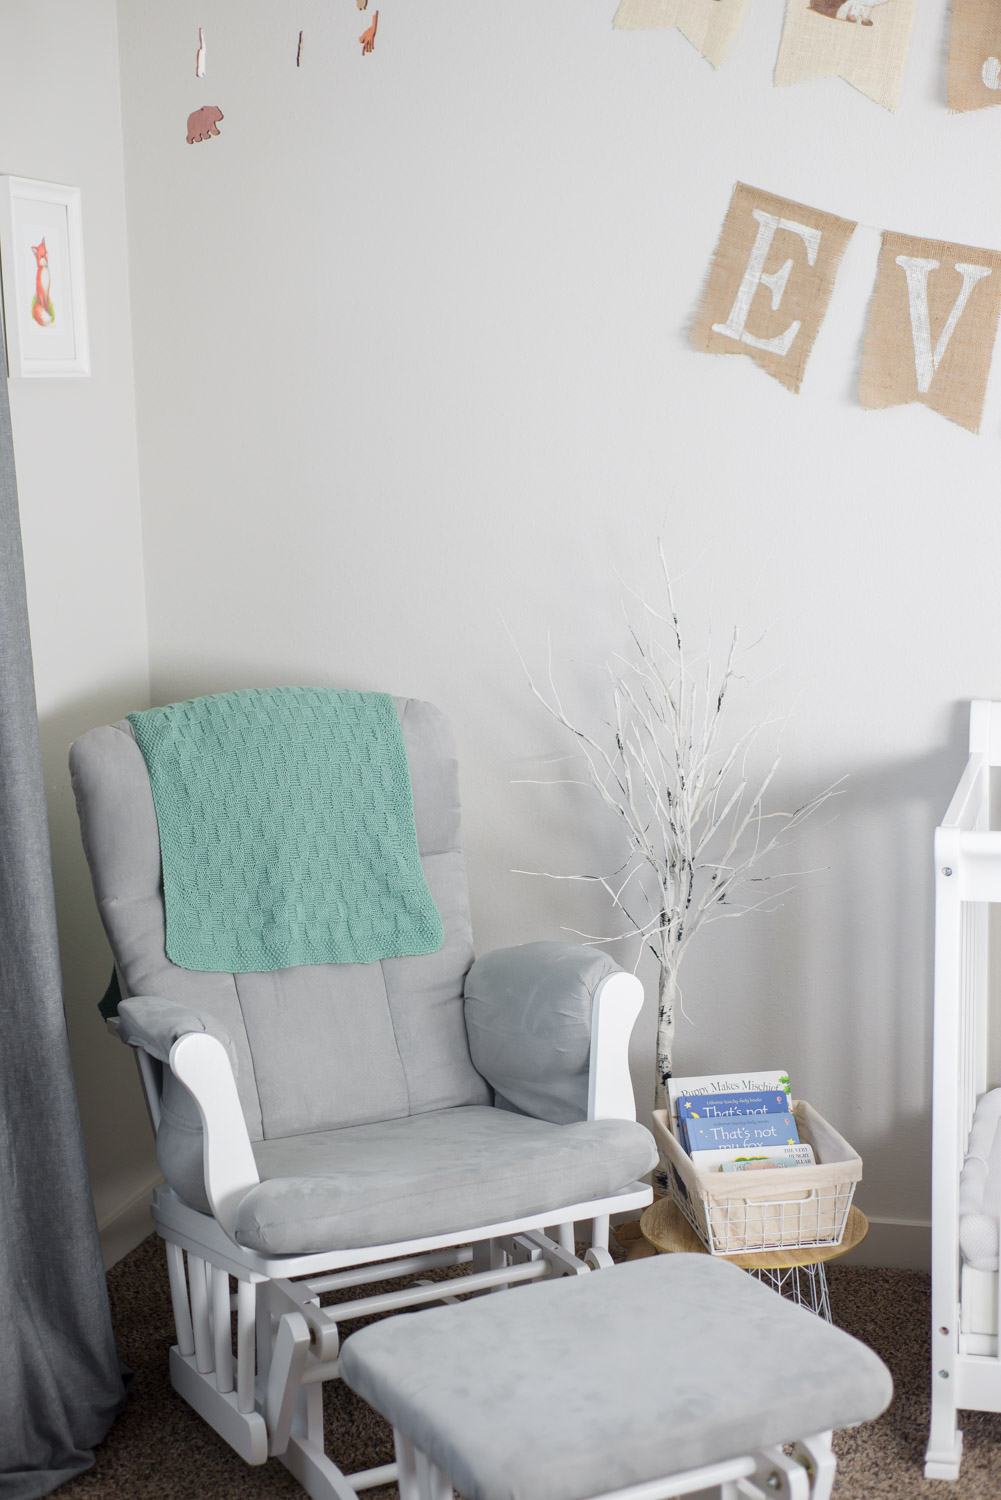
Birch Twinkle Tree
Apart from Jack’s name banner, this was probably my favorite piece of our woodland nursery decor!
I searched, unsuccessfully, for a nice lamp to put by the rocking chair, and ended up with this instead! It added the perfect amount of light for bedtime feedings and reading books, and I loved the way it looked—especially all lit up!
>>LINK:
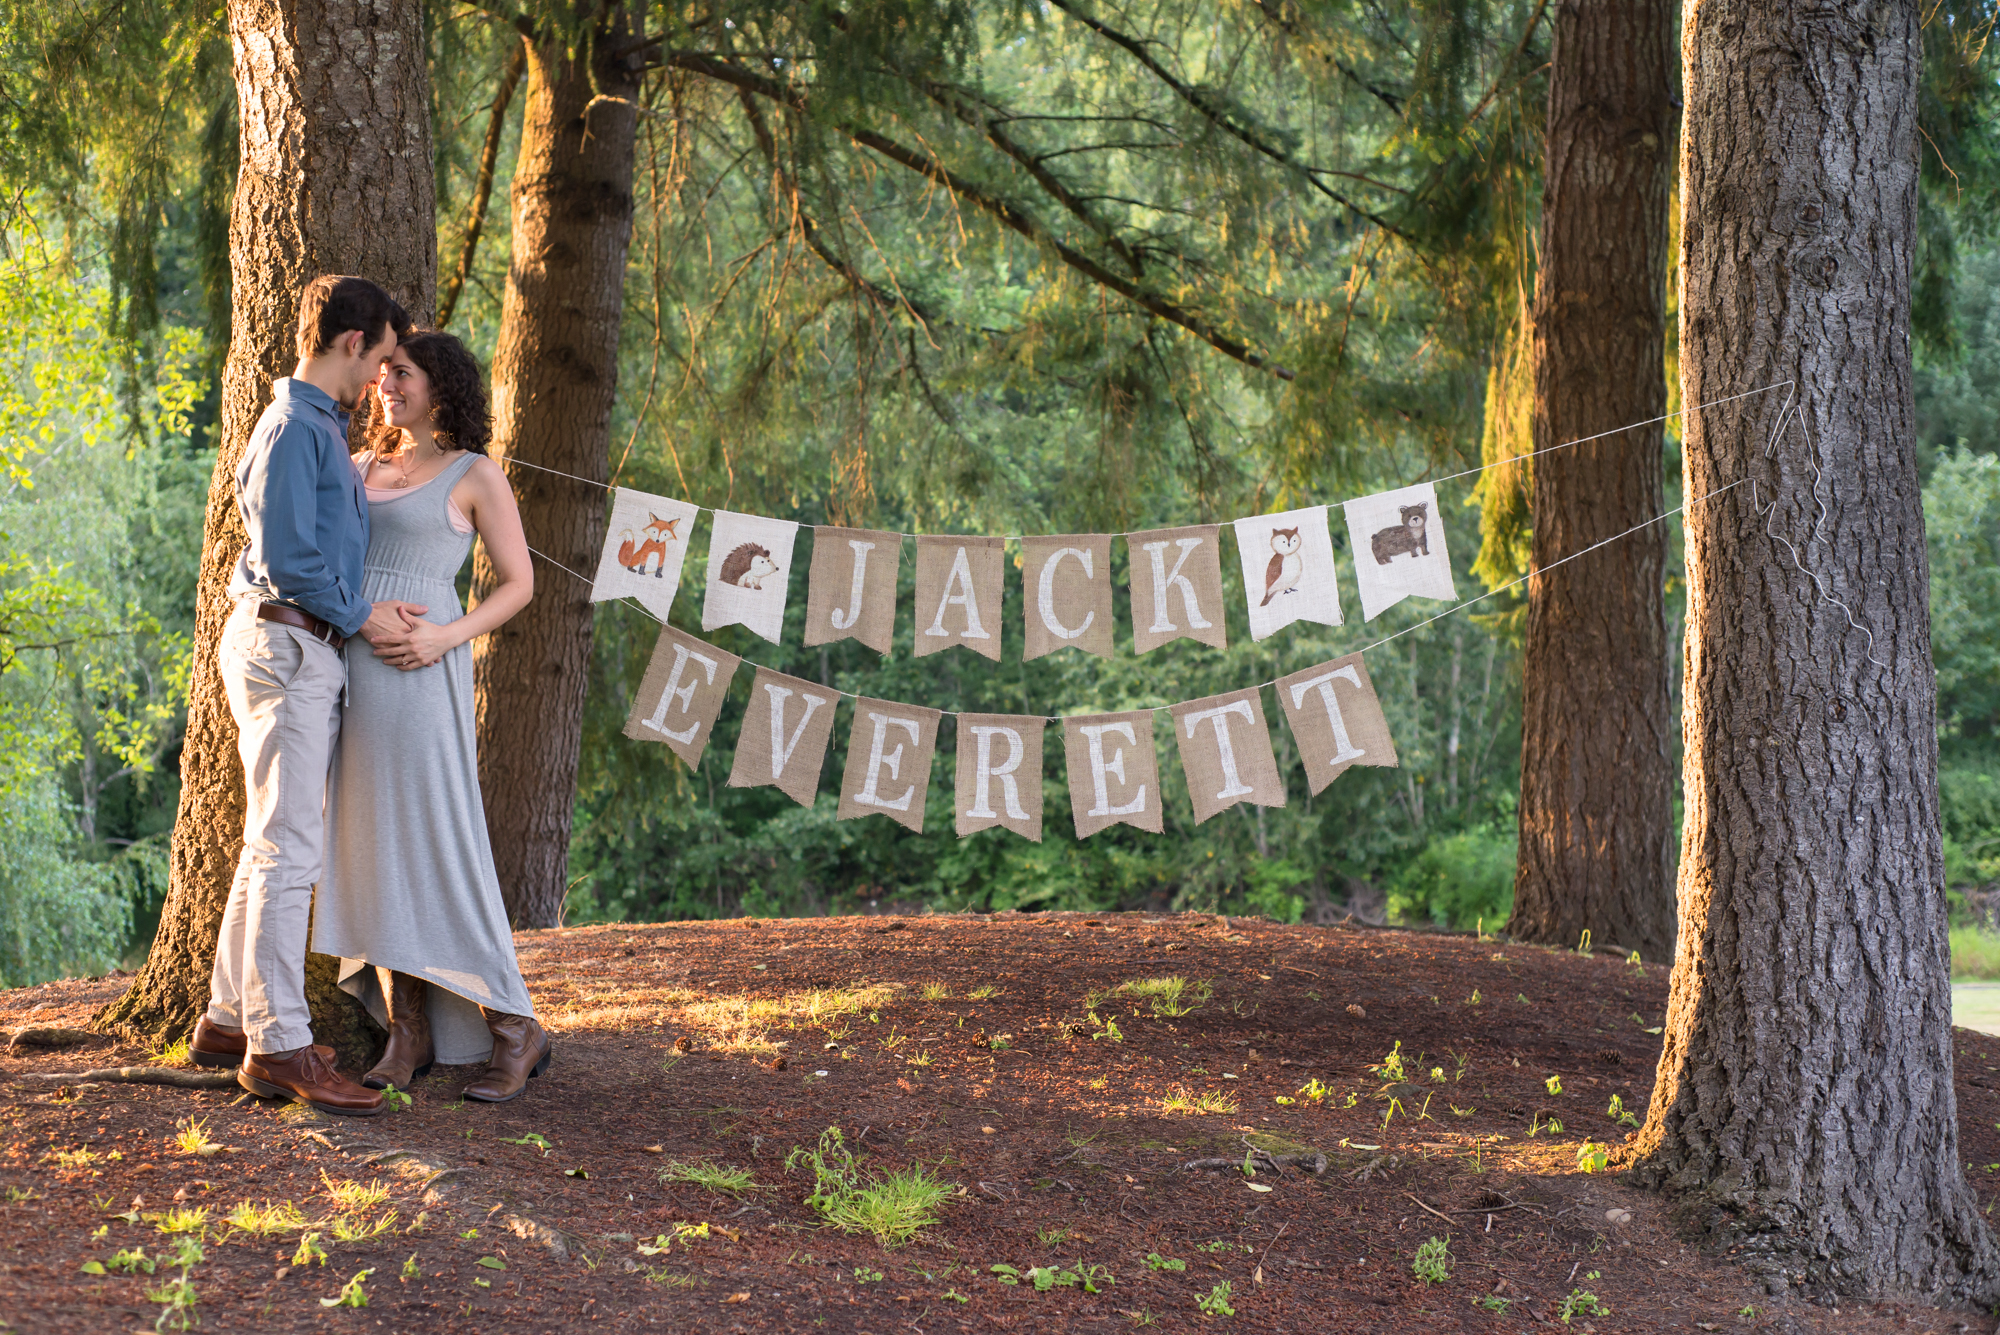
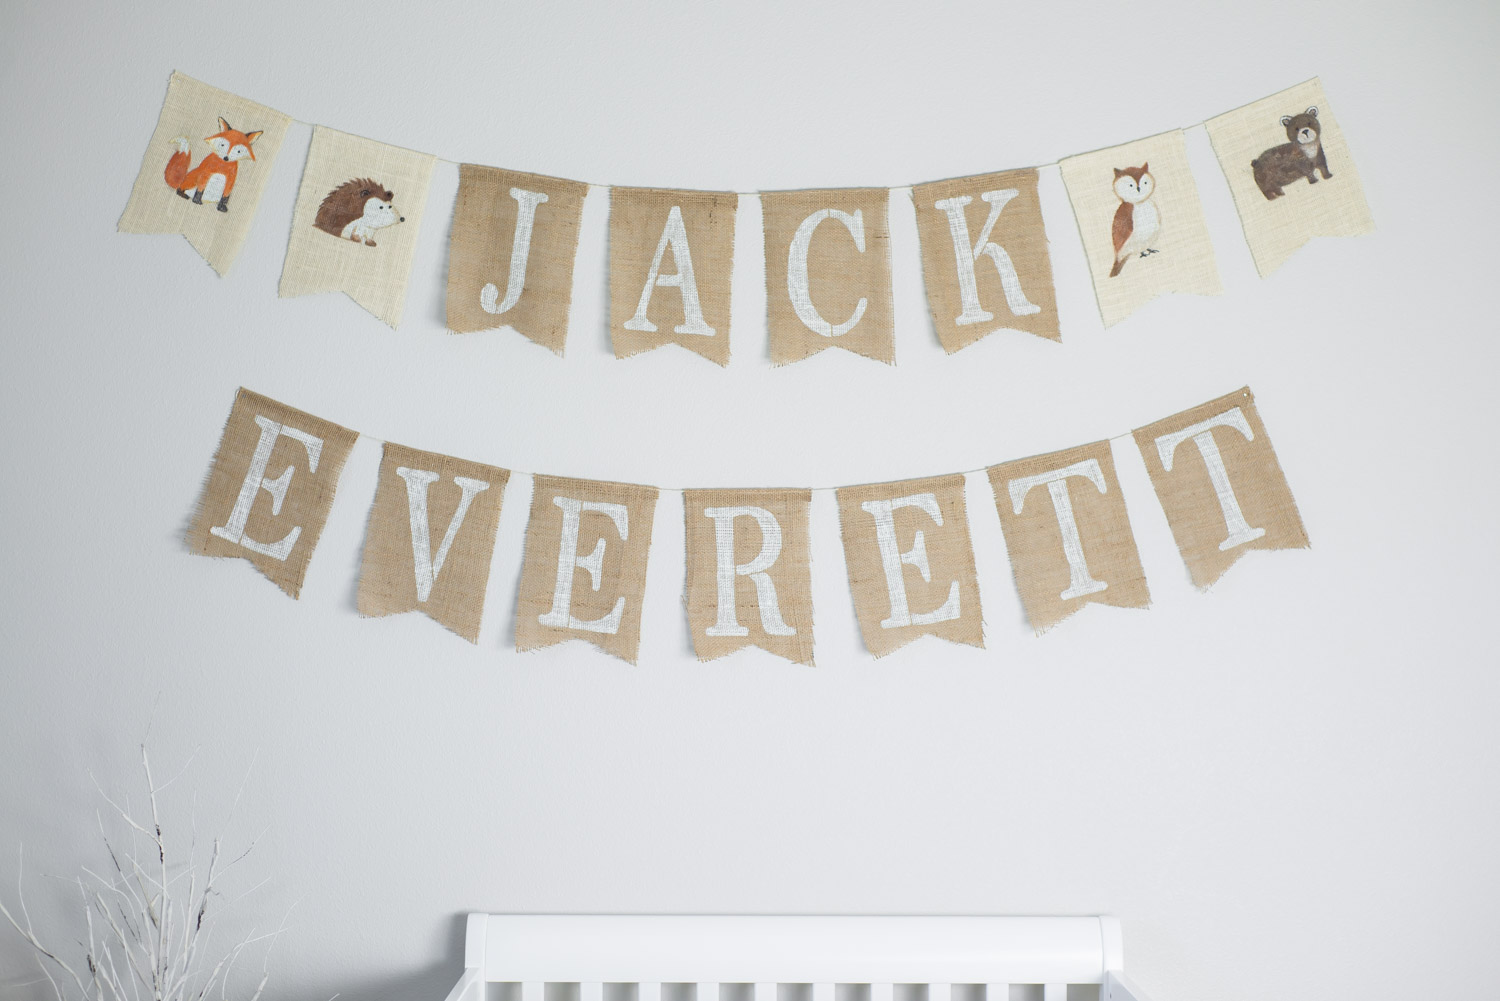
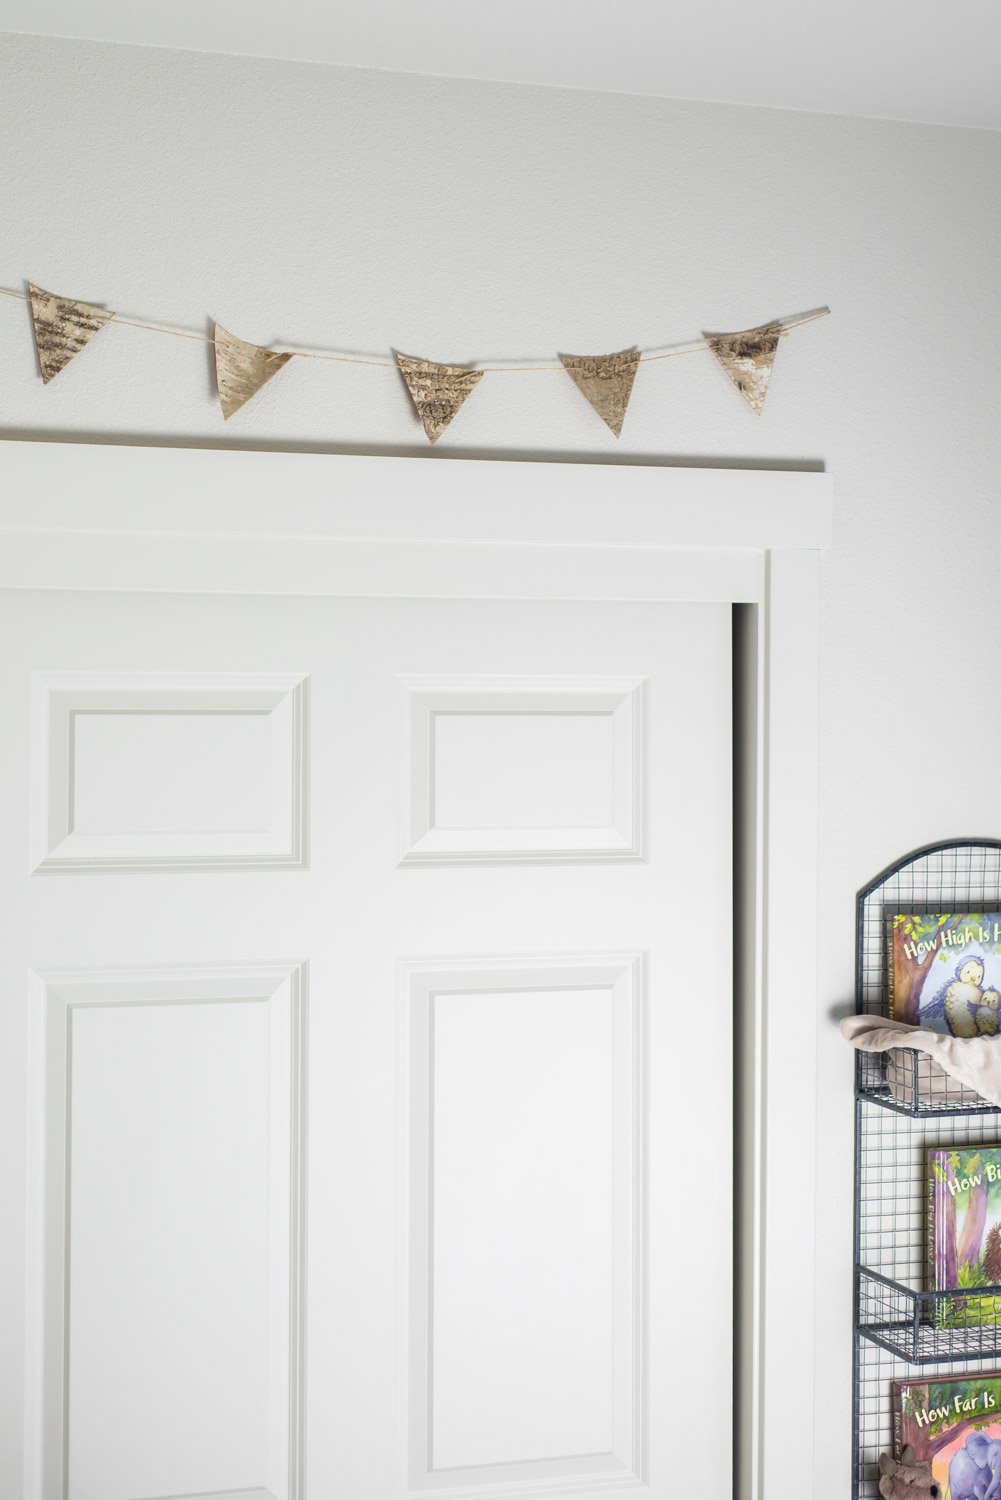
DIY WOODLAND THEMED NAME BANNER
Back while I was still pregnant, we did a gender reveal announcing Jack’s name with this banner!
Benj and I designed it to be hung on his wall once we set up his nursery.
I bought 2 shades of burlap and cut them into dovetail pennant shapes. On the lighter shade, Benj painted 4 different woodland animals. On the darker shade, I painted over letter stencils with a sponge brush.
We hot glued the panels onto cream jute twine by folding the top inch or so over the twine.
This was a simple project, but definitely a labor of love!
Click here to read our gender reveal story and see more up-close photos of Jack’s name banner!
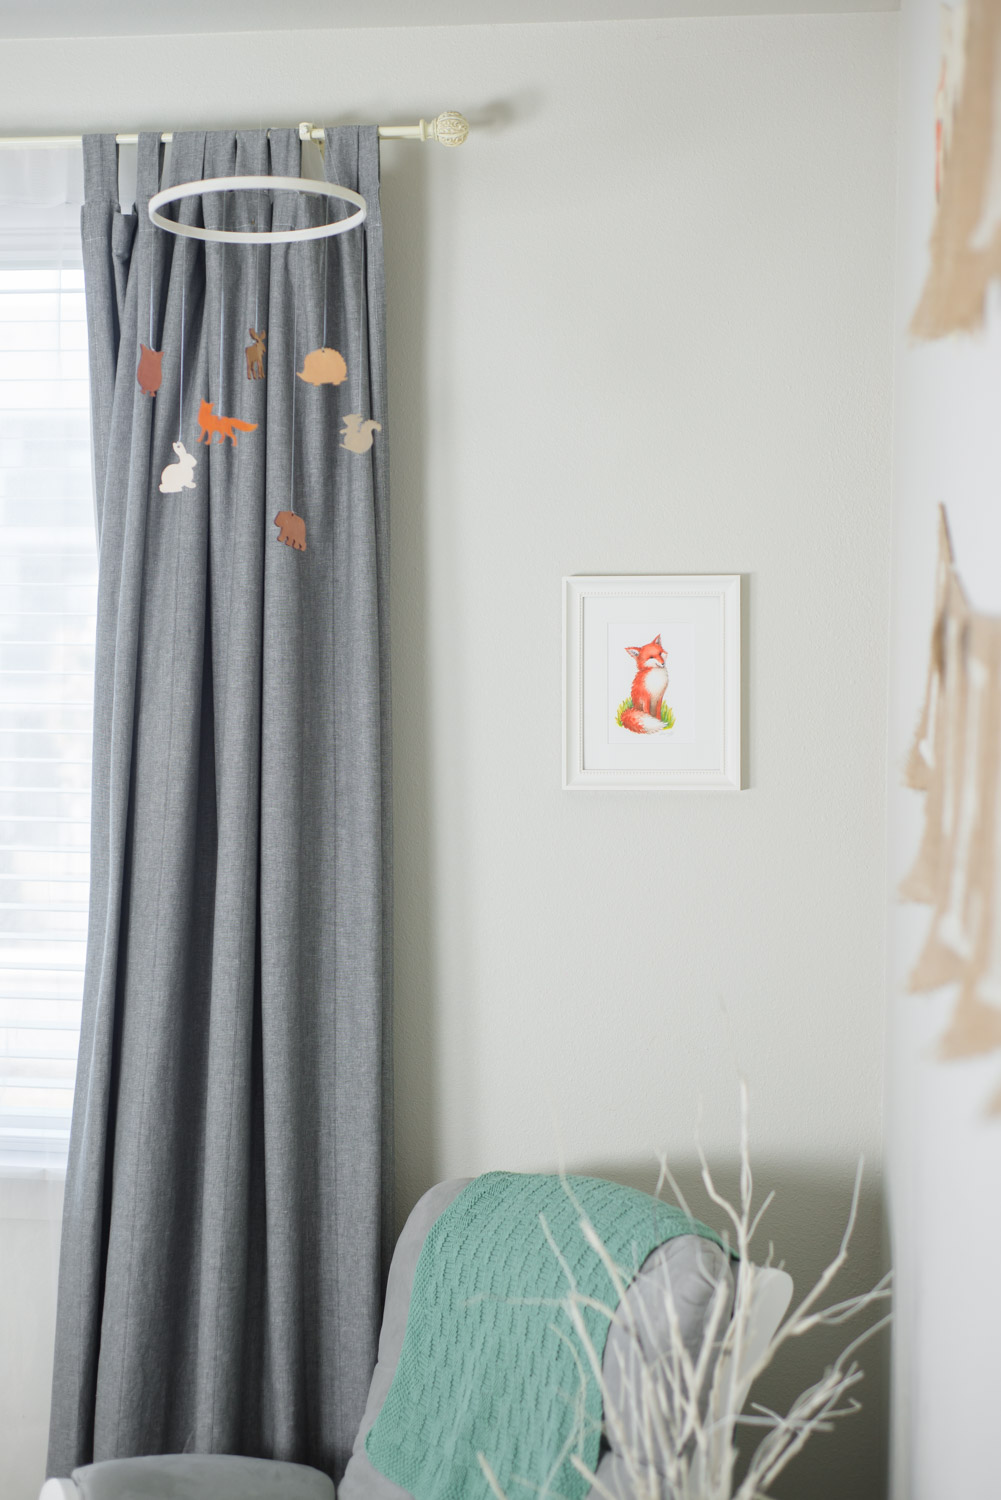

CURTAINS
Both the sheer and grey curtains came from IKEA. I ran out of time to hem them before Jack was born, so I just puddled them instead. Both pairs are beautiful textures, and add a nice feel to the room.
Once Jack got a bit older, we added blackout panels behind the grey curtains, and they worked wonders! I noticed immediately that he was sleeping in more, and that his naps were longer. Definitely a mom win!
>>LINKS:
- Grey LENDA CURTAINS
- Sheer TERESIA Curtains
- Thermal Insulated Blackout Curtains
- Montevilla Leaf Ball Double Curtain Rod (Distressed White)
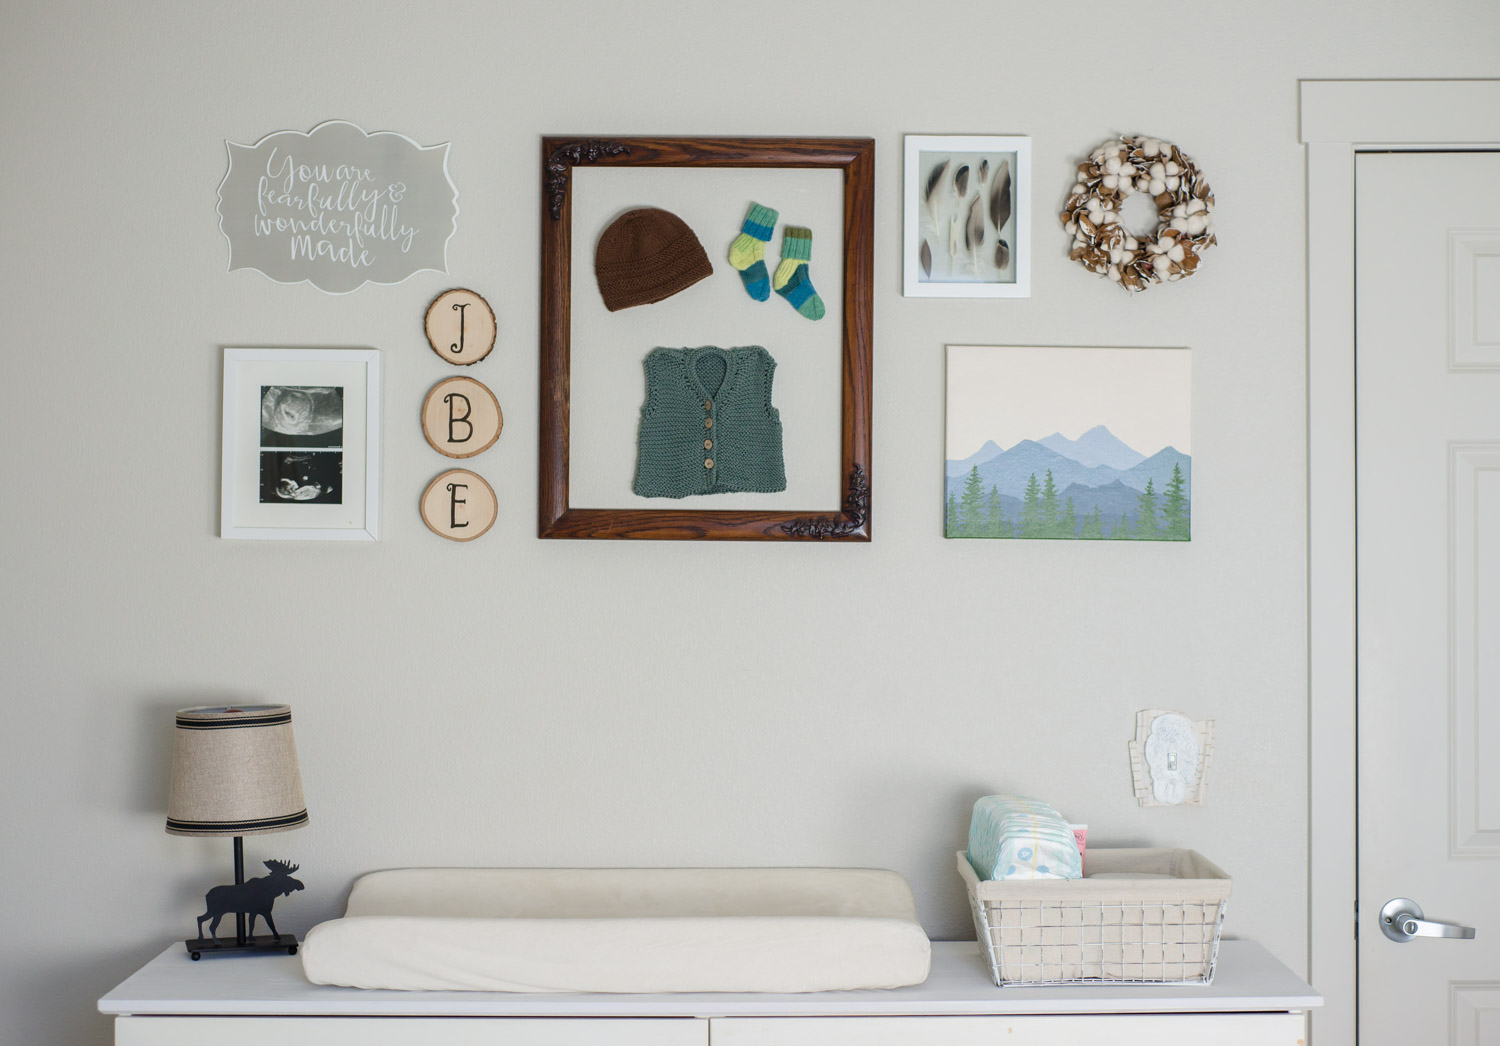

CHANGING STATION
We had been using this dresser in the kitchen of our previous apartment, but when we moved, we painted it white and added brushed nickel knobs.
The amount of storage in this thing is fantastic!
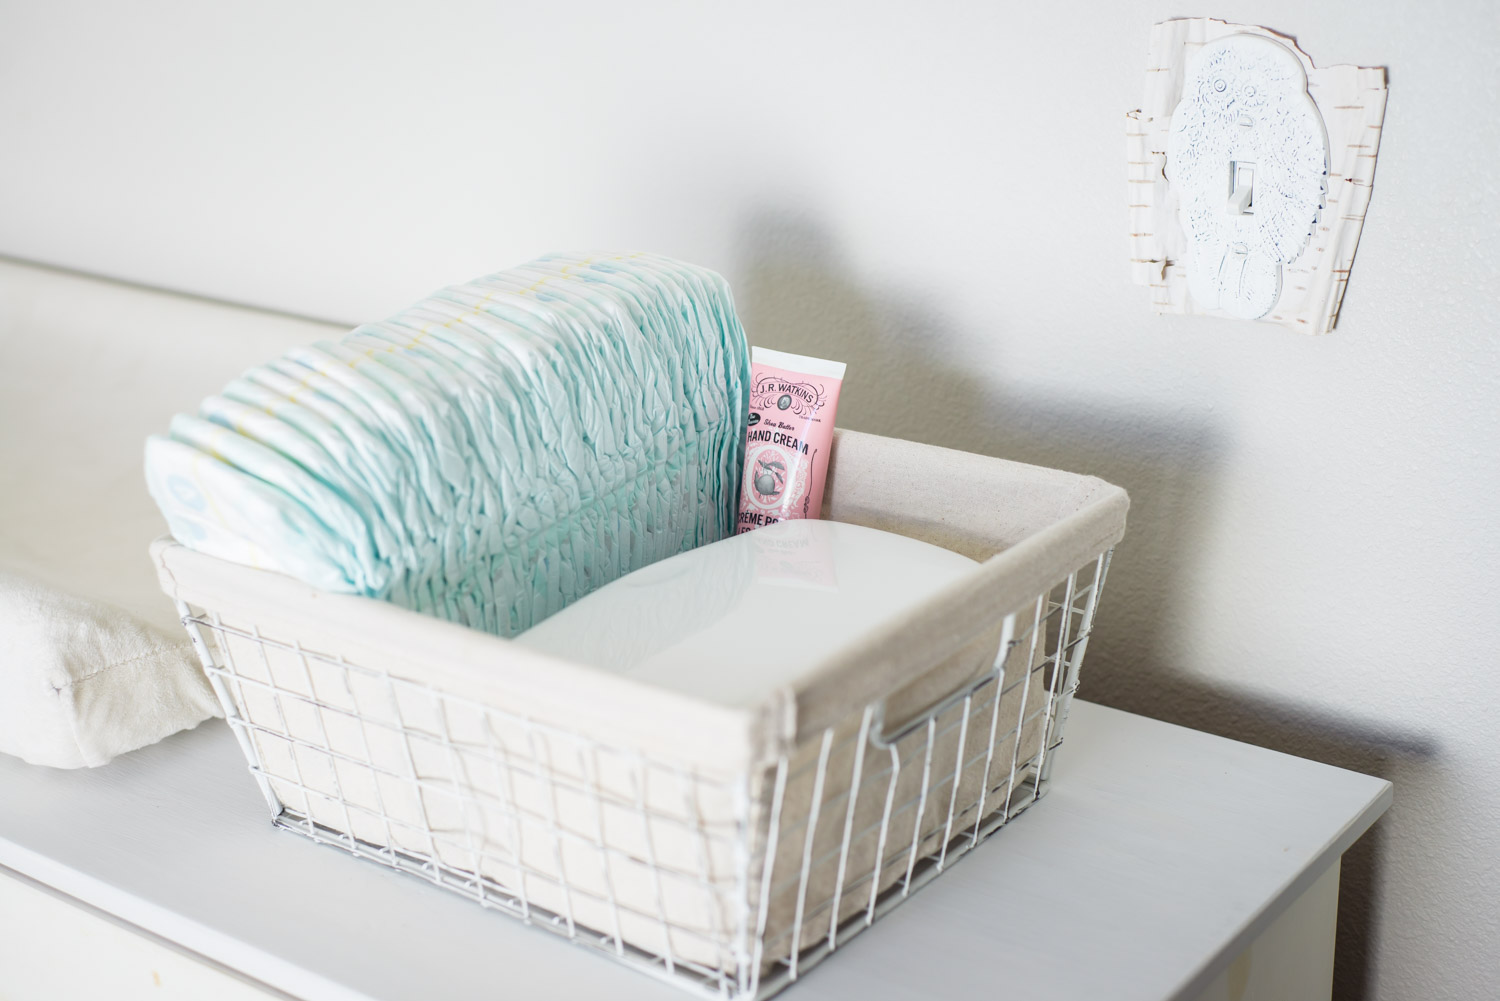
On top, we put his changing pad and a basket full of diapers and wipes.
We also added a thrifted moose lamp. We spray painted it black, added a cute shade from Walmart, and screwed in a red bulb for late night diaper changes.
>>LINK:
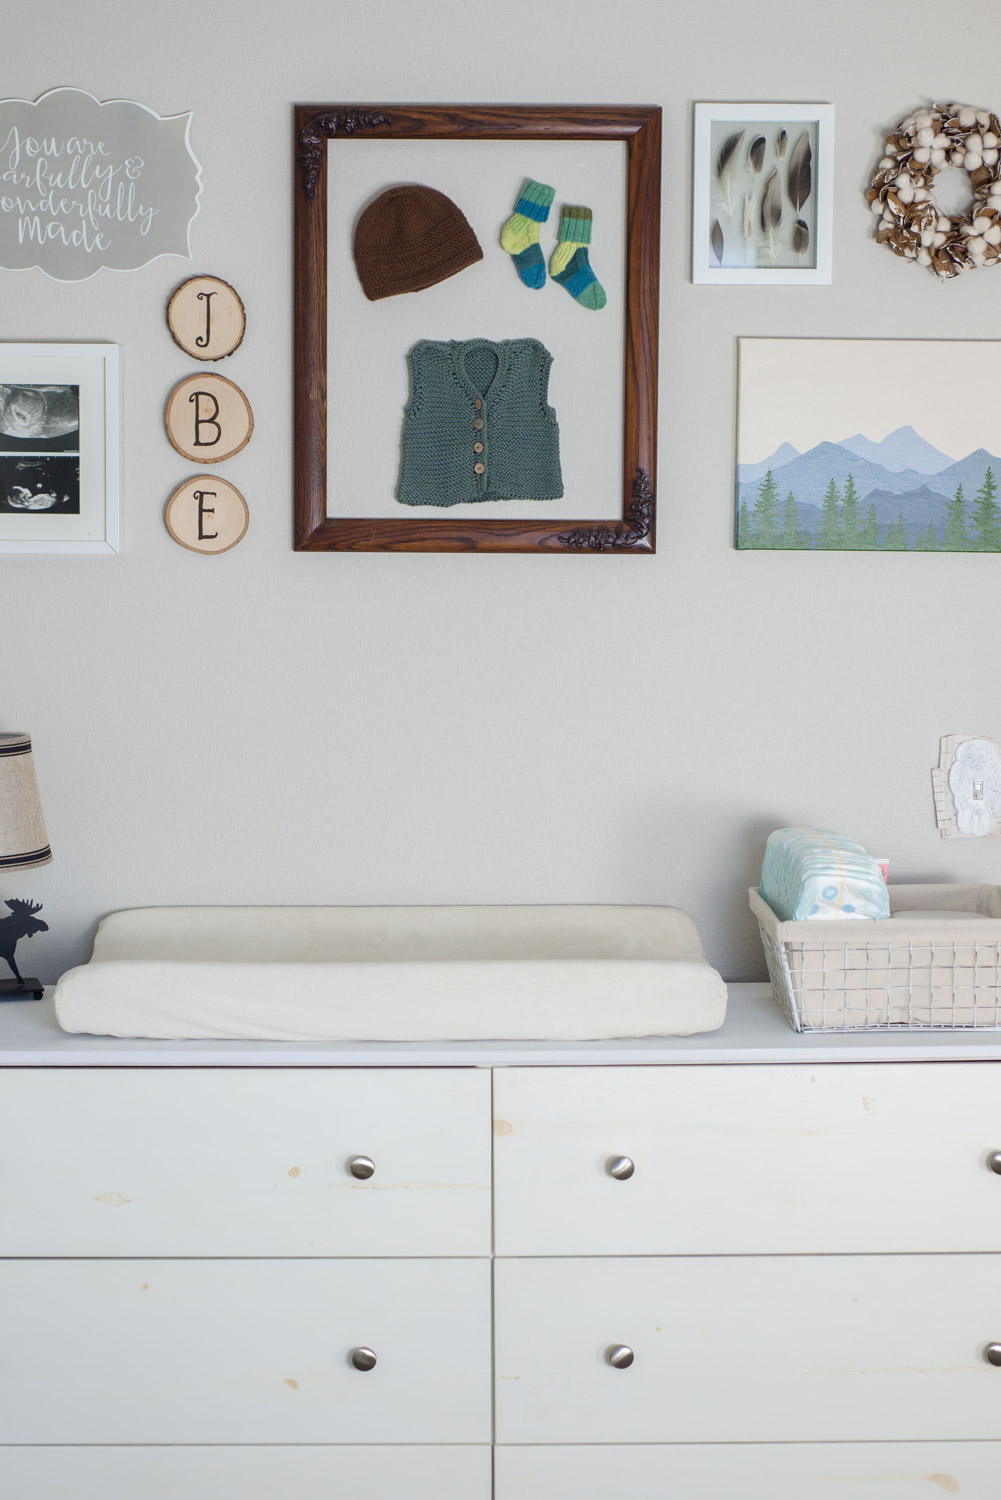
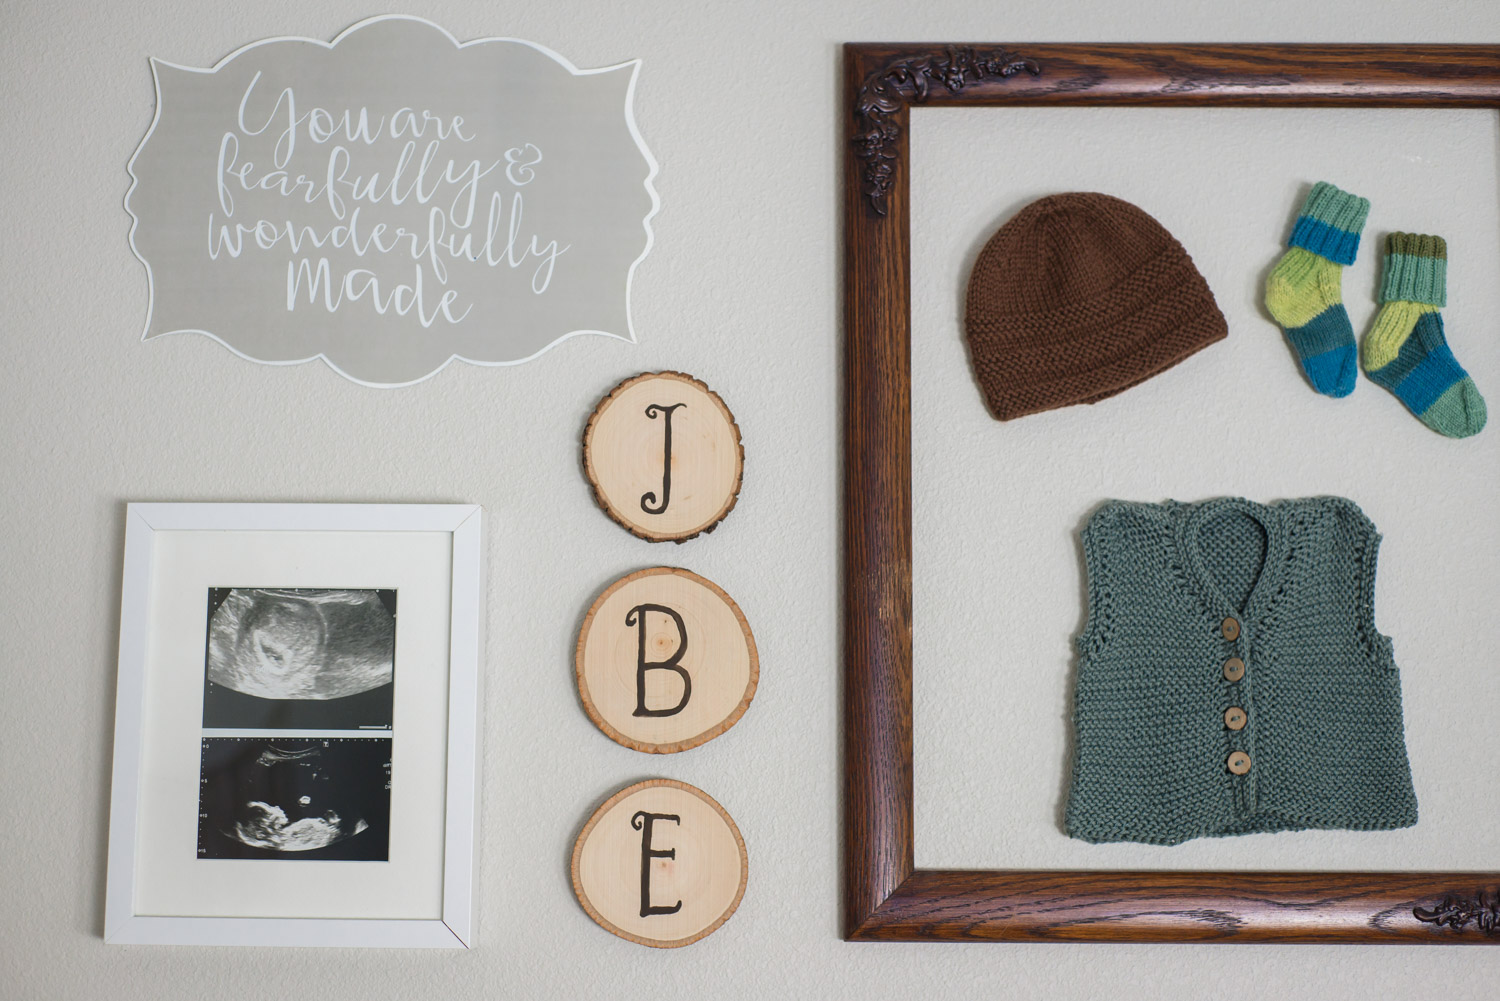
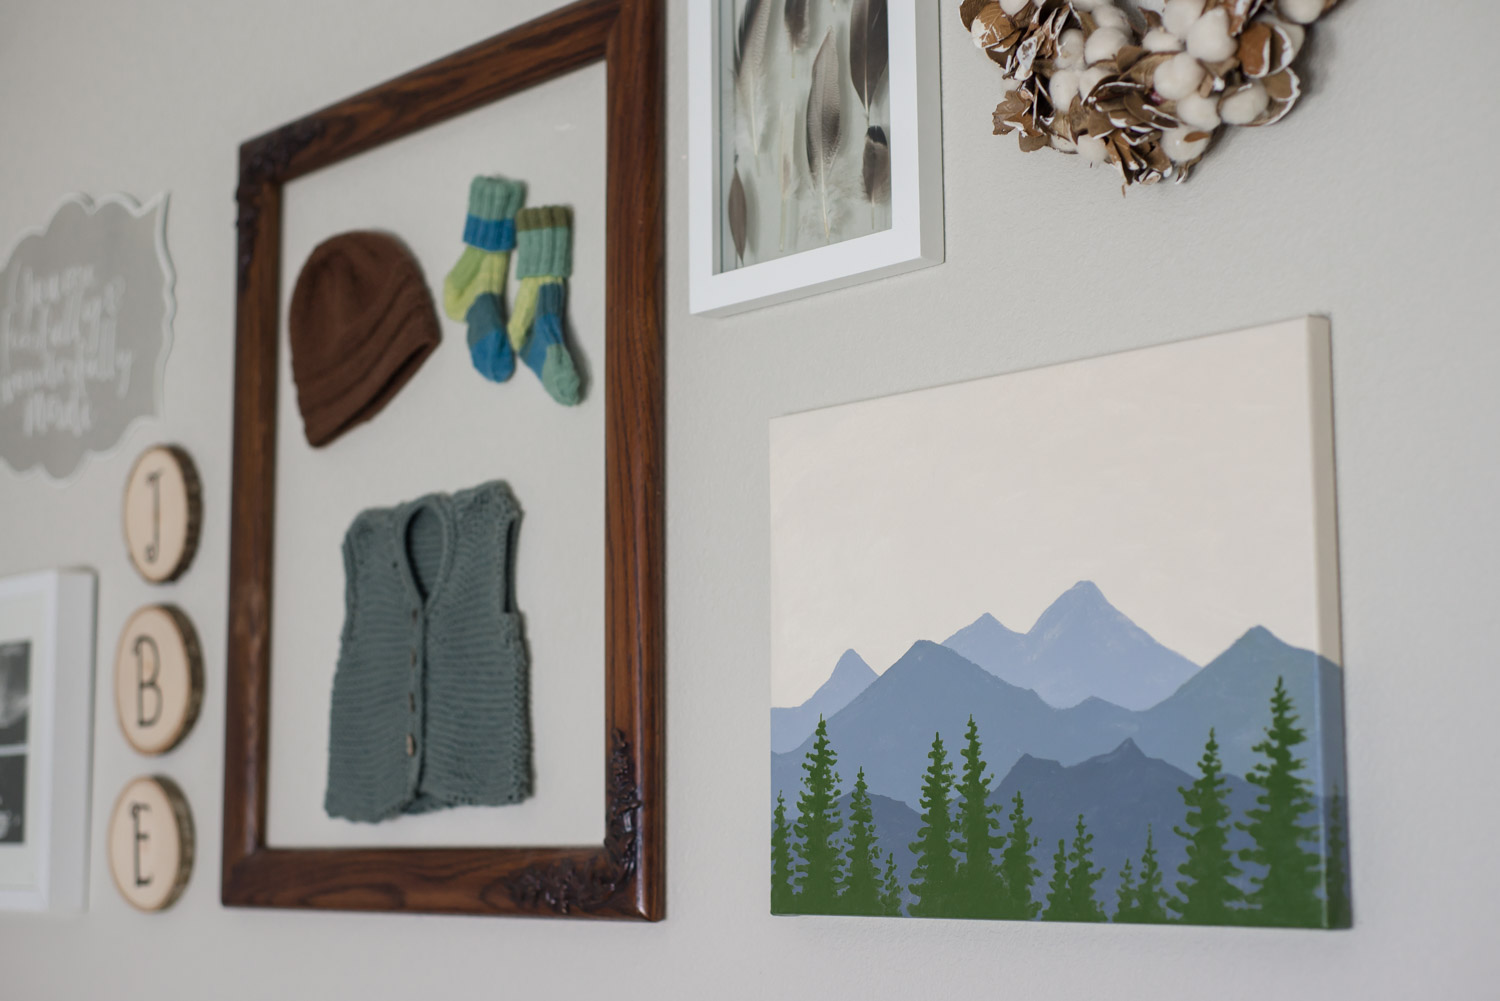
GALLERY WALL
The gallery wall took me the longest to gather and arrange. I wanted to incorporate lots of textures and natural elements, and I really love the way it turned out!
- The mountain painting was painted on a white canvas by Benj. (Having a husband who’s an artist is pretty fun!)
- Jack’s monogram initials were painted onto wooden coasters that we added picture hangers to.
- I arranged feathers inside a clear glass photo frame (both from JoAnn Fabrics).
- The large wooden frame was thrifted, and the knitted clothing items were made by family and friends.)
- The “You Are Fearfully and Wonderfully Made” sign came from Hobby Lobby.
- Since the only photos I had of Jack were his ultrasound photos, I framed them (in an IKEA frame).
- I found the leaf and cotton wreath on autumn clearance at JoAnn Fabrics.
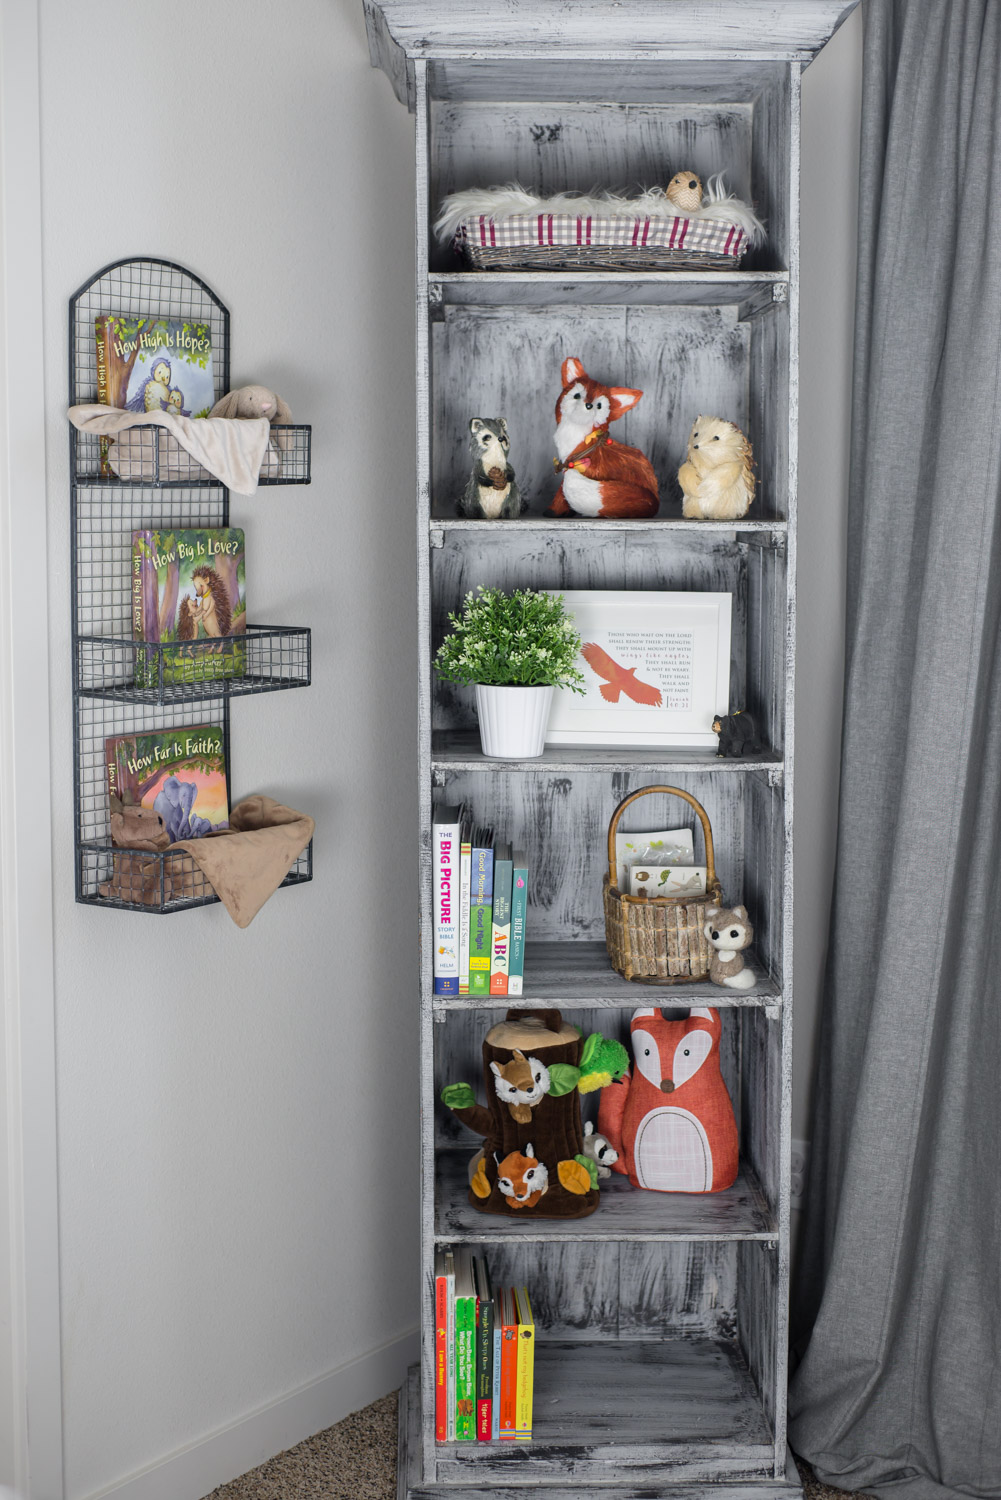
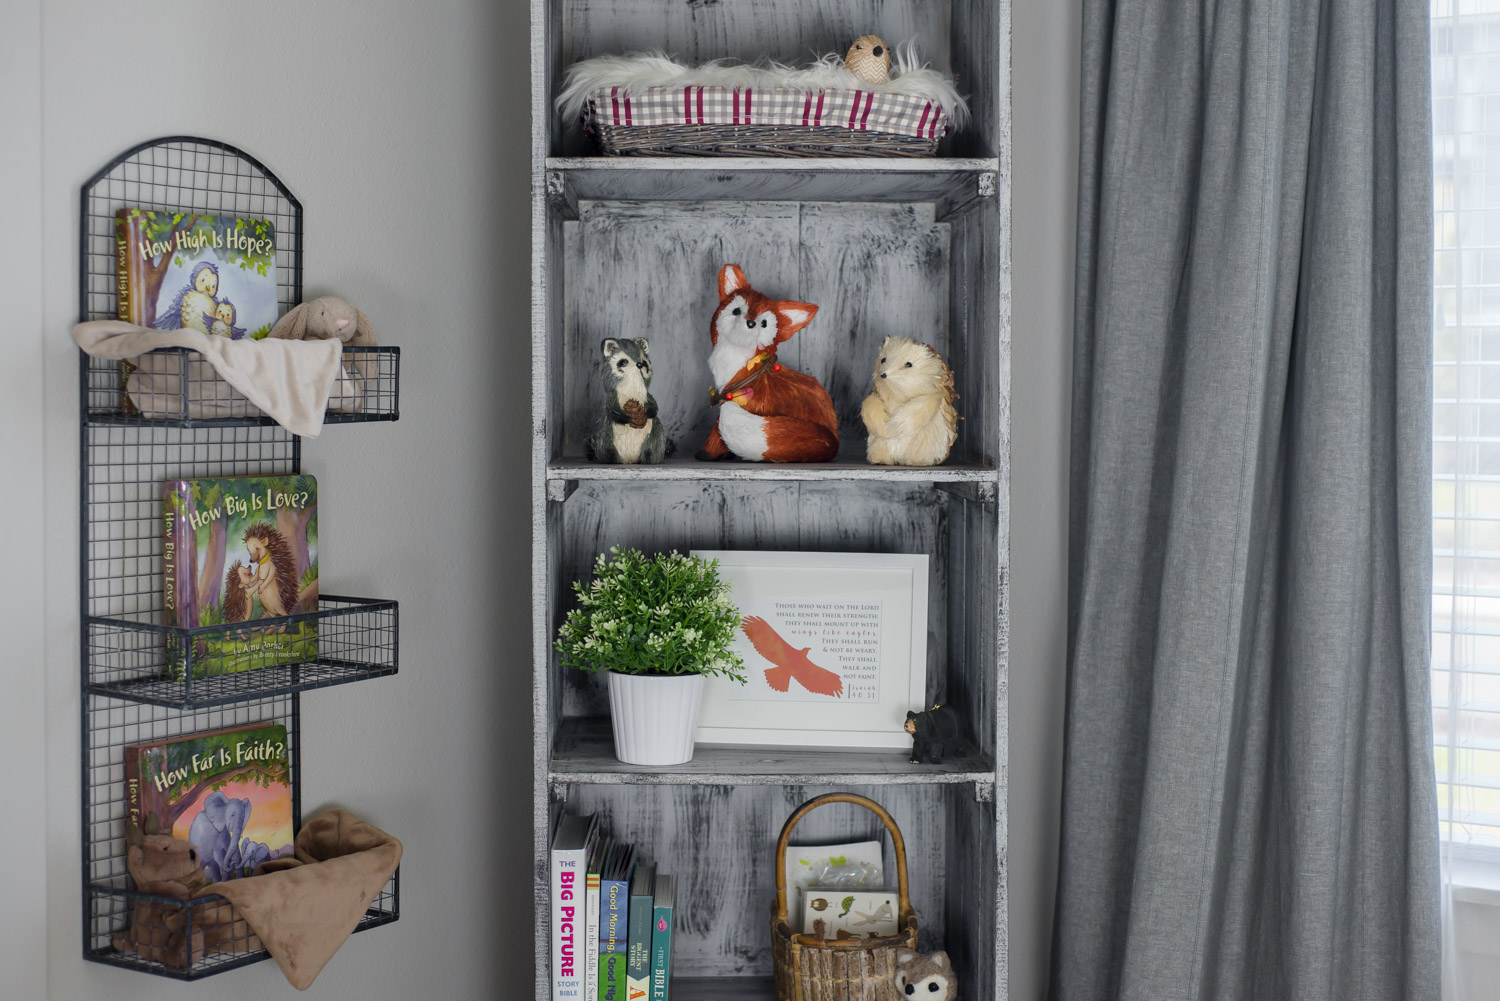
BOOKCASE
I had originally bought this grey bookcase for the awkward bathroom in our first apartment (another long story). When we moved into our second apartment shortly before Jack was born, I realized the nursery was the perfect place for it.
It was fun to have a place to display some of the sweet gifts he’d been given—not to mention his books!
>>LINKS:
- IKEA Thyme FEJKA Potted Plant
- The Big Picture Story Bible (baptismal gift
from our church)
- Plush Treehouse with Forest Animals
(adorable gift from Benj’s parents)
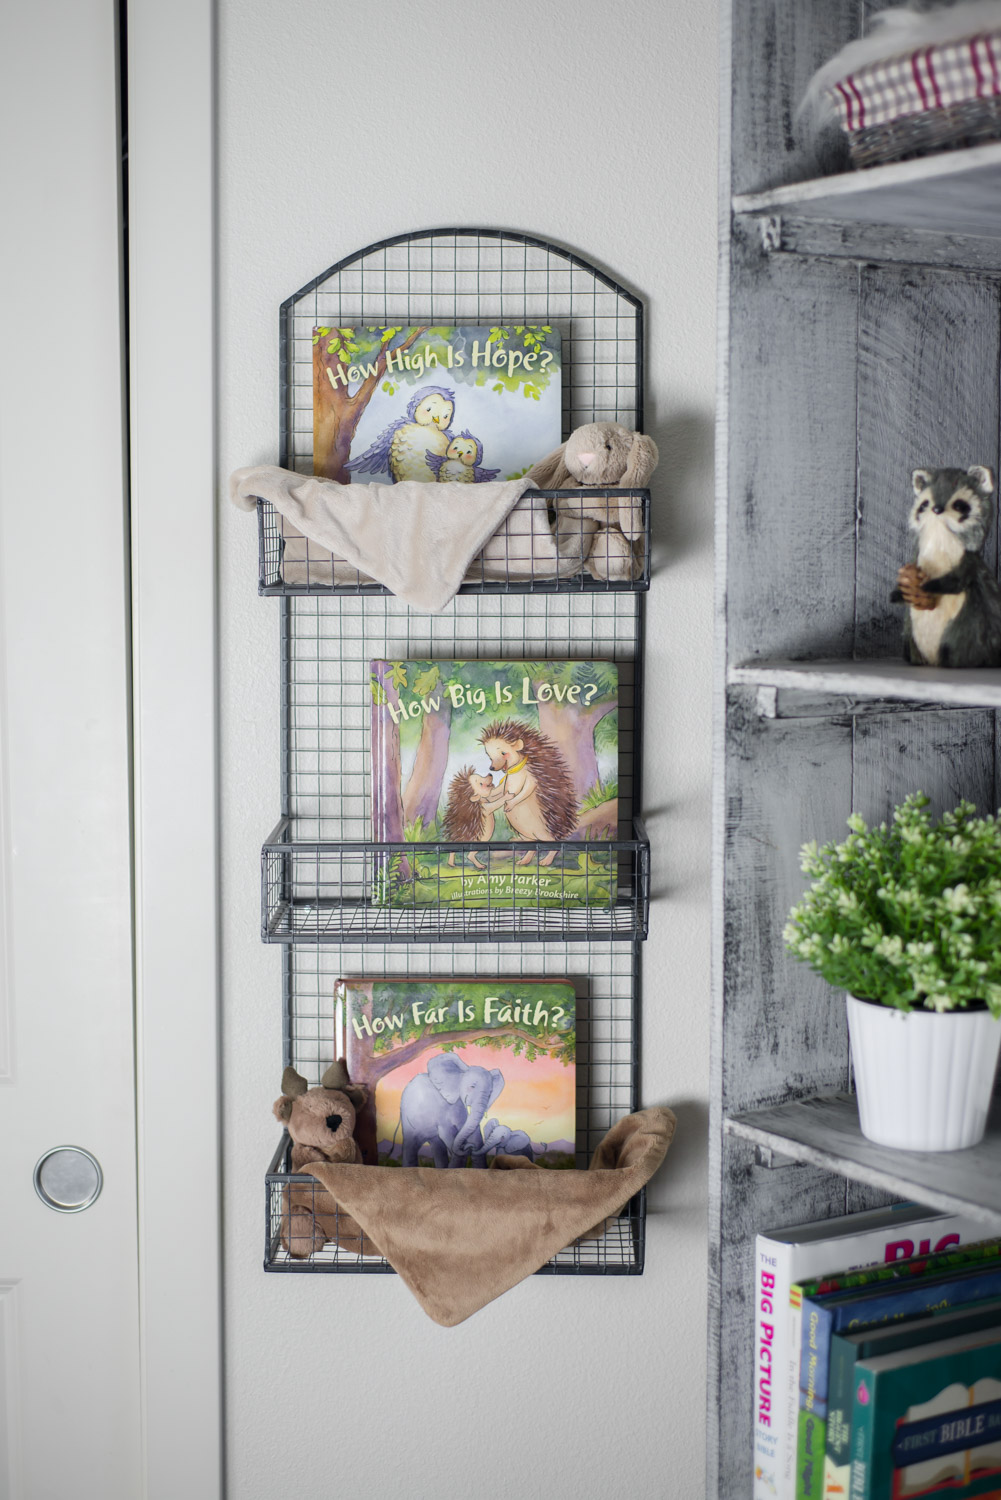
RUSTIC WIRE SHELF
I found this shelf at HomeGoods, and loved the charcoal metal wire design.
Jack loves the three padded board books I have displayed, and asks to read them over and over! Two of the stories feature woodland animals, and they’re beauitfully illustrated by my friend, Breezy Brookshire. (She also illustrated the fox painting I linked to above!)
Also, the Jellycat soothers you see nestled in the shelves are the sweetest! They make perfect baby shower gifts.
>>LINKS:
- How Big Is Love | How Far Is Faith
| How High Is Hope
- Jellycat Bashful Beige Bunny Soother
- Jellycat Bashful Raccoon Soother
(I couldn’t find the moose.)
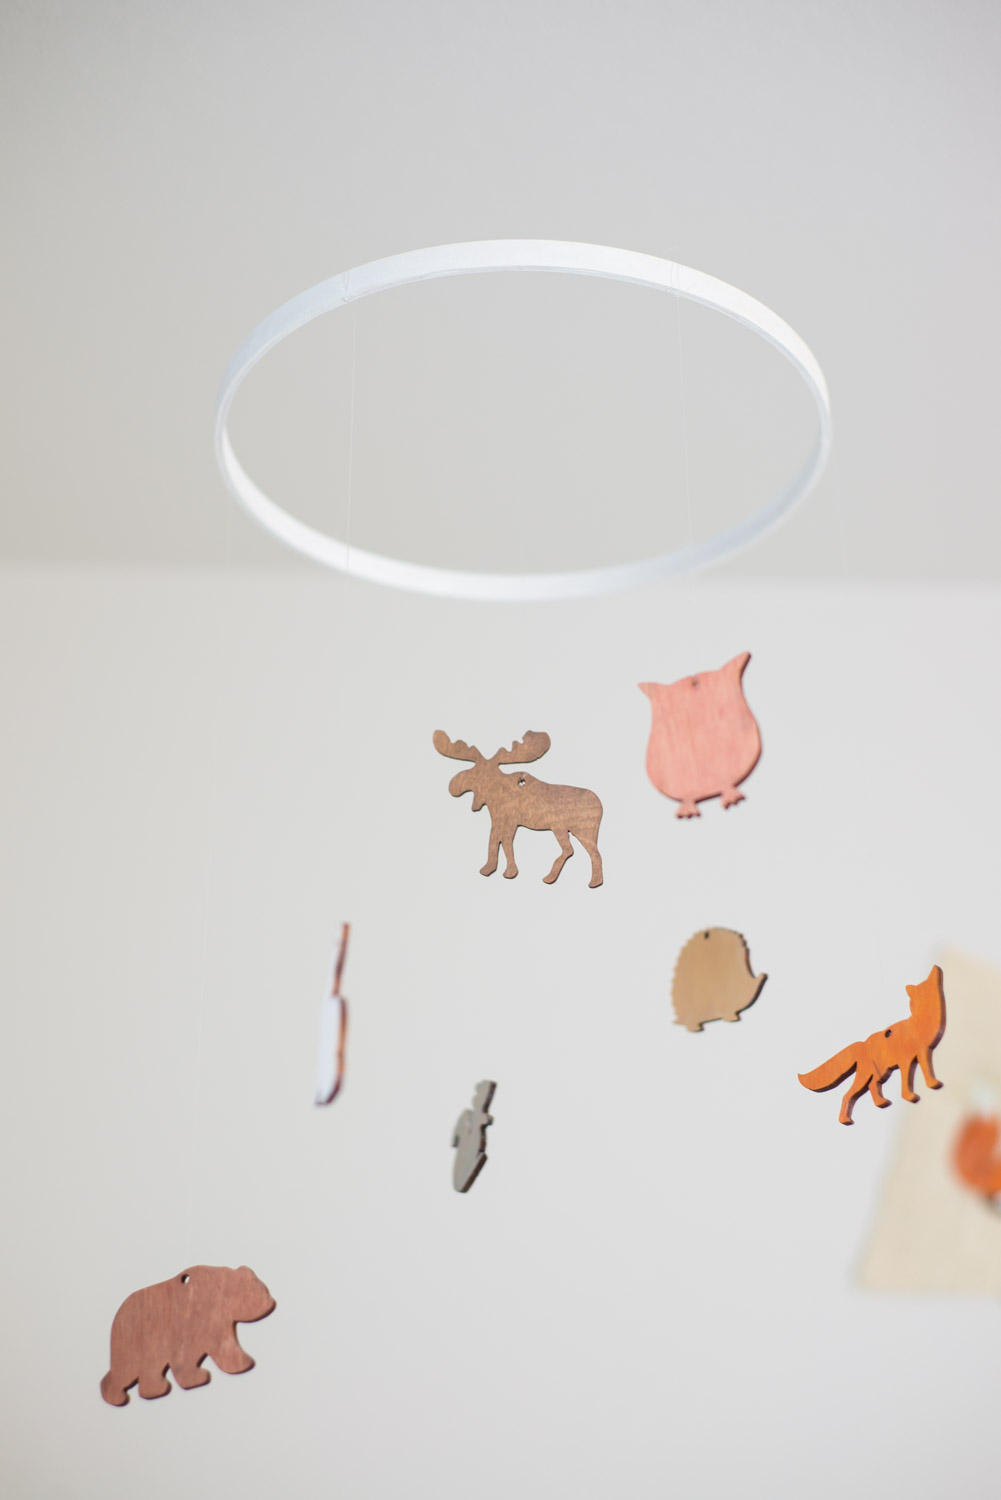
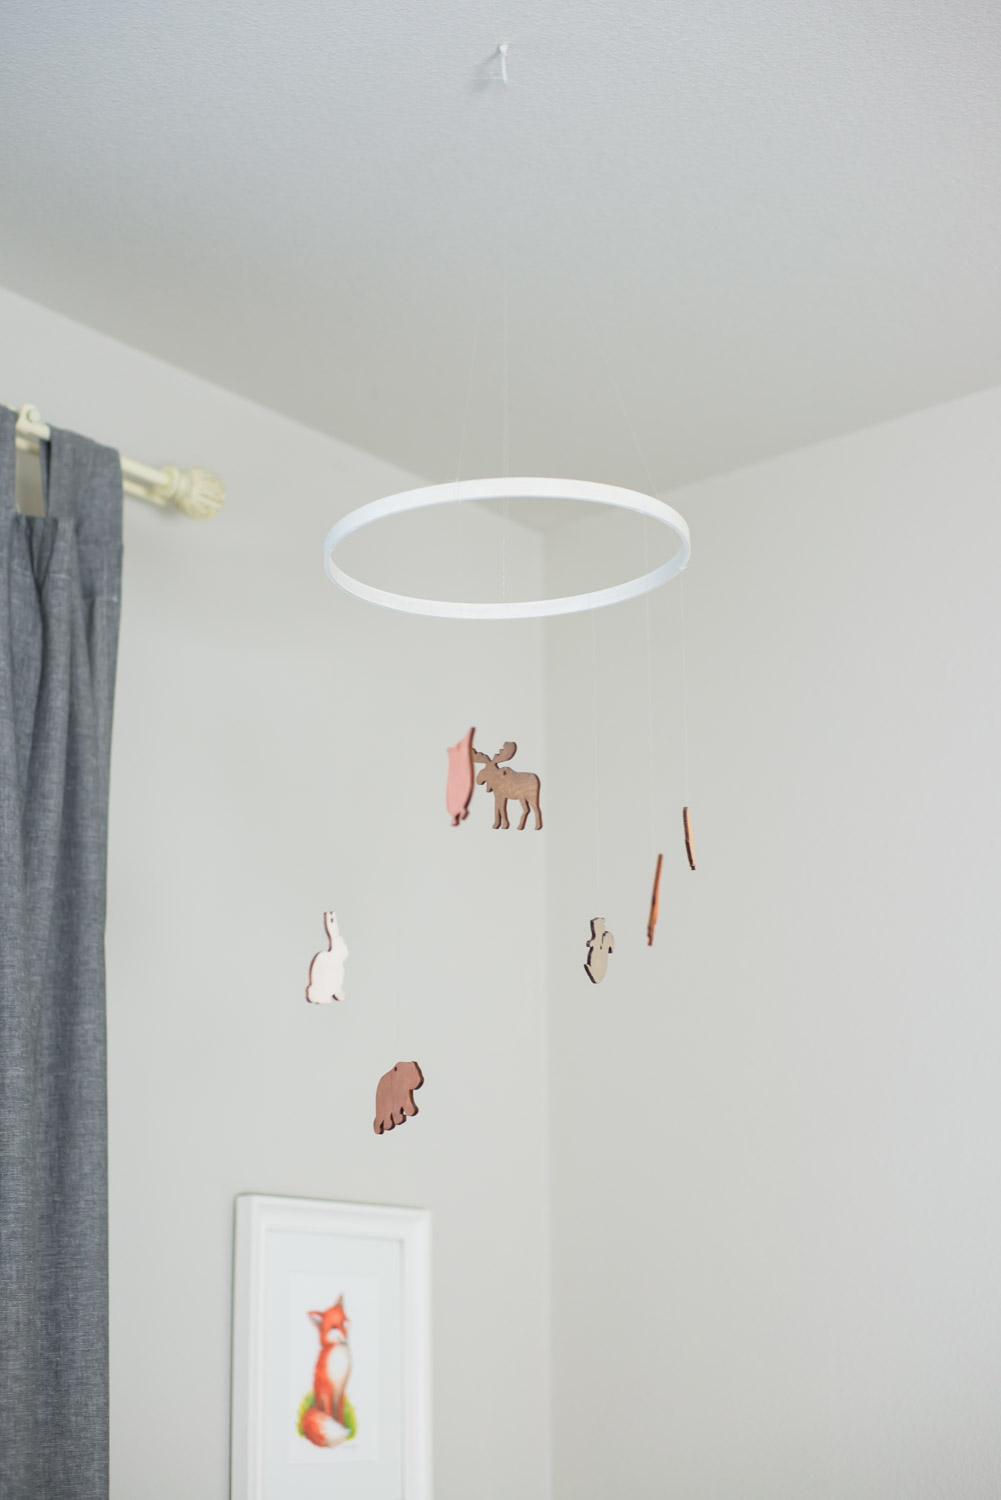
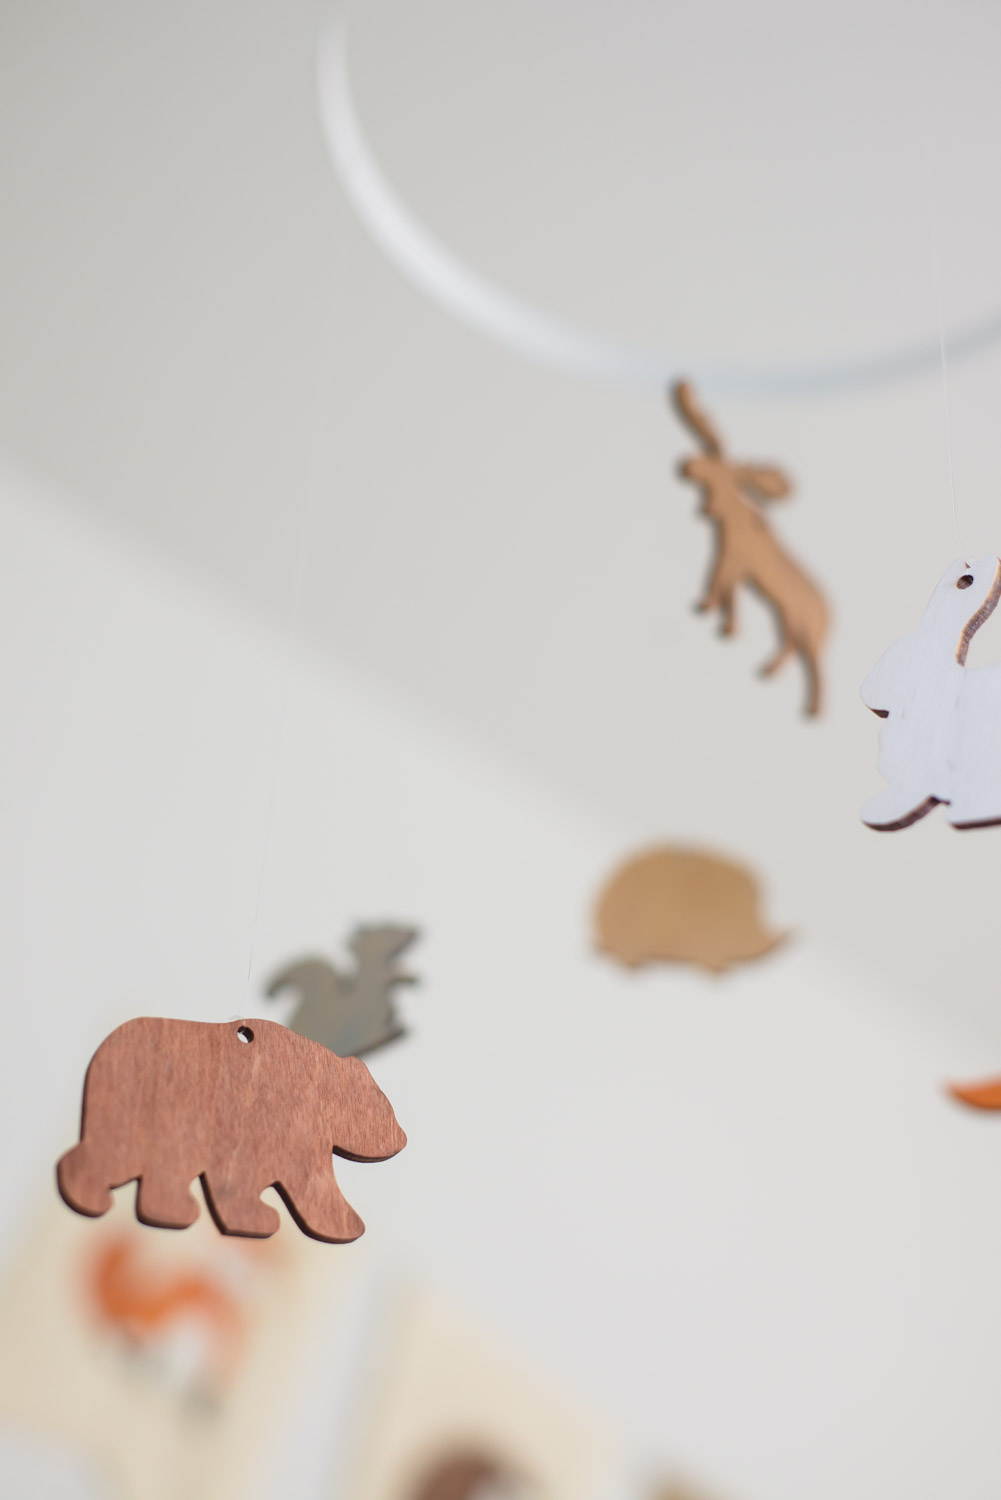
DIY WOODLAND THEME ANIMAL MOBILE
Jack loved staring up at his mobile!
Benj and I made it ourselves, and it was a super fun project to work on together. This DIY took a bit more time, but it was still very simple.
You will need:
- Woodland Animal Cutouts
- 9″ Wood Embroidery Hoop
- Acrylic Paints
, in your colors of choice (We used this brand. You can buy them individually at JoAnn Fabrics!)
- Nylon Thread or Fishing Line
- Ceiling Hook
(We found ours in white at Home Depot.)
Start with the 9” embroidery hoop and remove the outer loop—you won’t need it. Paint the hoop or stain it, if desired. We painted ours white.
Next, paint your woodland animals. We diluted our paints in water and did more of a wash. This allowed the wood grain to come through, which gave it more of a natural look.
Our animal cutouts had holes already, so we just tied some fishing line to one end tied the other end to the embroidery hoop at varying lengths. You’ll probably want to use double or triple knots!
Finally, tie 3-4 more even pieces of the nylon thread to the embroidery hoop. Then knot them all together and hang from the ceiling hook.
WOODLAND THEME BOOKS
No woodland themed nursery would be complete without a stack of books about forest critters!
Here are a few of our favorites:
- That’s Not My Owl
| That’s Not My Fox
| That’s Not My Hedgehog
- Little Moose, Finger Puppet Book
- How Big Is Love?
| How High Is Hope?
Finding Versatile Woodland Nursery Decor
What I love about so many of our woodland nursery decor pieces is that they’re versatile! Since these photos were taken, we’ve moved across the country and set up Jack’s room again.
We reconfigured the decor to reflect his toddlerhood instead, and his room is able to grow with him. I left out some of the more “babyish” pieces and replaced his ultrasound photos with a recent family photo.
It’s perfect now for his little 2-year-old self!
If you have questions about any of the woodland nursery decor, just let me know and I’ll do my best to answer them. Happy decorating!


What a beautiful job you both did on the nursery! Thanks for sharing!
Thank you so much! 🙂