We’ve just entered into a beautiful new year, and it’s the perfect time to start organizing your day to get stuff done! So today, I want to share my Day Designer planning routine with you.
Productivity is especially tough for stay at home moms because we have all the things vying for our attention day and night! Without intentionality—and a lot of prayer—it’s easy to feel like you’re running in circles all day long.
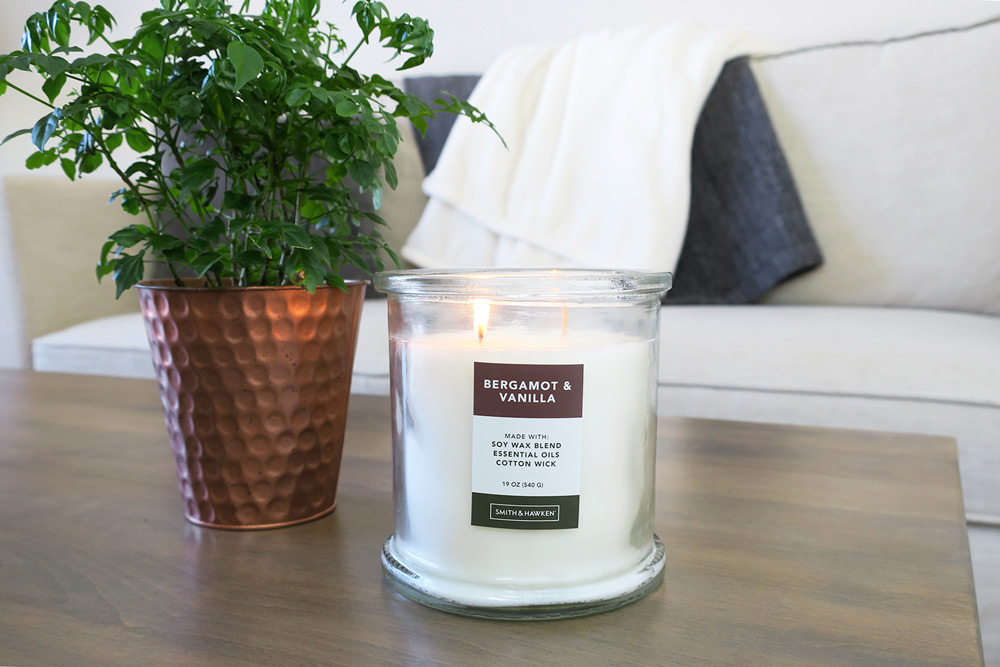
I’ve been there—and I’m still there some days. So I knew I needed to develop a super simple planning routine that would bring more peace and calm into my life.
No Day Designer? Try it for Free!
Just a sec!
I realize that you might be reading this post without a Day Designer of your own.
Do you know what sold me on the Day Designer planner in the first place?
Trying it for FREE!
I was nervous about spending so much money on a planner without knowing how it would work for me, so this was exciting! I printed off a week’s worth of planner pages and gave it a shot.
A few days later, I was hooked. Even though I’ve adjusted how I use my Day Designer over the past year, it has transformed my days from the very beginning!
If you don’t own a Day Designer planner, but want to give it a try, visit the Day Designer website and click on the Try It For Free tab!
Alright. Let’s jump into my Day Designer planning routine…
(I recorded a video of my planning routine as well!)
Stay-at-Home Mom Day Designer Planning Routine
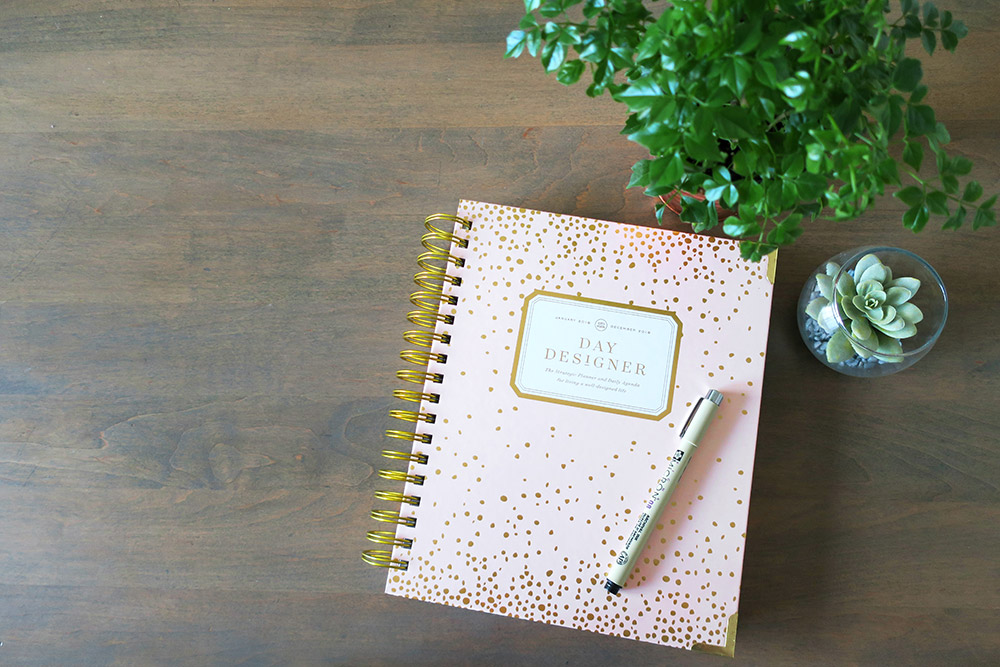
Last year was my first year purchasing the flagship Day Designer planner. It kept me sane, organized, and productive.
How on earth did I function without it? I don’t know.
I want those positive results again this year, so I recently ordered a 2019 Day Designer. I chose the Blushed Confetti cover because I needed a little extra pretty in my life! 😉
I’m regularly tweaking the way I organize my goals, my time, and my to-do list. That sort of thing relaxes me, so I guess that means I’m a nerd?
Anyway, the following routine works super well for me in my current season of life, but everyone is different, so just keep that in mind.
This the Day Designer planning routine I follow every night…
This post contains affiliate links, and some links below will take you to Amazon. You can read my disclosure policy here.
PLAN THE NIGHT BEFORE
Planning the night before is probably my best tip—especially if you have little ones!
This has made a huge difference in my productivity. I’m more intentional and optimistic before the day actually begins. This in turn helps me to be more organized and productive the following day.
Having my planner ready to go allows me to hit the ground running in the morning! Okay, walk slowly while dreaming of magical caffè mochas. 😉
When I tried planning in the morning, I wound up feeling rushed. Jack might wake up soon—I need to hurry! Not surprisingly, I started forgetting things in my haste.
My early morning hours are sacred, and my entire day goes better when I have time to quietly wake up and get going before my chatterbox of a toddler does!
Simply setting aside 15 minutes (or less) before bed each night makes the biggest difference! Planning is the last thing I do before turning off my computer and phone for the night. (I use Trello to plan and track my goals, so I need my computer when I plan my day.)

STEP 1: Daily Gratitude
Writing down your Daily Gratitude first starts your planning out on an uplifting note.
I’m often tempted to look back on my day and wonder where my time went and what I actually accomplished. Being a stay at home mom can make you feel that way sometimes!
But stopping those negative thoughts by writing down something positive that happened or something you’re grateful for is the perfect way to start a planning session!
STEP 2: TO-DO
Next, we’ll fill out the To-Do section. These tasks don’t need to be in any particular order (that comes later).
Treat this part kind of like a brain dump, and take a few minutes to jot down your to-dos, big or small.
Start by thinking about what’s going on the following day…
Do you have any appointments? Play dates? Events? Is it cleaning day? Errand day? Laundry day? You get the idea.
Thinking about your upcoming plans for the next day helps you to be realistic about what you’ll actually be able to accomplish.
For instance, if I know that I’m going to be out all morning running errands, I’m not going to accomplish as much at home that day. But if I write down a long list of to-dos around the house anyway, I’m setting myself up for discouragement.
Be realistic, but optimistic.
And don’t forget to migrate any previously unfinished to-dos, if you need to.
STEP 3: TODAY’S TOP THREE
Once you have your to-do list figured out, it’s time to pick Today’s Top Three!
These 3 things are the things that would make the day feel productive even if nothing else got done!
I’m always tempted to put the urgent-but-not-important things on this list. Sometimes, I do, but more frequently, I don’t.
Why? Because these things will get done anyway! If they’re urgent, they’ll get taken care of.
A few examples of urgent tasks might be: doing the laundry, paying a bill, or replying to a dinner invitation. All of these things will get done regardless of whether they’re at the top of your list—or somewhere in the middle.
Instead, put your important-but-not-urgent tasks in Today’s Top Three. These are the things that get pushed off day after day.
If your important tasks continually get pushed off until “tomorrow”, it will drive you crazy and make you feel like you never get anything done! Pssst…ask me how I know.
For me, important tasks can look like exercise or work projects. If I don’t make them a priority, they just won’t happen.
Always write in the most important tasks first to make them a priority. They’re much more likely to get checked off this way!
STEP 4: TODAY
Use the Today section to schedule how you want your day to go. There are a lot of ways you can structure this section, but here’s how I like to do it…
Start with the time-sensitive things, like appointments, errands, events, etc.
Next, write in your top three—your “big rocks”. I often schedule my top three early in the morning or during nap time because they usually require more concentration.
Finally, fill in the cracks with the rest of your to-do list.
If I can include Jack in any tasks, I make sure to do them while he’s awake. We’ll sometimes fold laundry or clean the bathroom together. I let him “help” by giving him something to fold or a damp paper towel to wipe down cabinets. He loves feeling included and useful, which makes him much less likely to be whiney and clingy! It’s a win-win.
The Today section is also the perfect place to implement time blocking. Use your pens or some stickers to section off certain hours for your morning routine, nap time, evening hours, etc.
Time blocking helps me to be more intentional.
If I see that I only have a 30 minute slot to exercise on a certain day, I’m more likely to get it in because I know it’s my only window.
STEP 5: Due, Dinner, Dollars, and Don’t Forget
I save these sections for last. By this time, I typically know if there’s anything I need to jot down in these boxes.
Sometimes, I just end up leaving most of them blank, but I always fill in what we’re doing for dinner—even if we’re not eating at home.
Honestly, the Dinner section has been a lifesaver! I just glance at my meal plan for the week and jot down what’s up next. This simple act has helped me remember to thaw meat early in the day, and get dinner on the table on time more consistently!
THE MONTHLY CALENDAR SPREAD
Here’s how I use my Day Designer Monthly Calendar spread…
While I do use the monthly spread in my Day Designer somewhat, I mainly use the Apple Calendar app because Benj and I can sync up—and edit—our calendars so easily.
I mainly like to use the Day Designer calendar spread for birthdays, anniversaries, and a few special events or milestones that I want to remember.
Sitting down at the beginning of each month and writing these things in is a great reminder of what’s coming up in the next several weeks. But this is separate from my normal Day Designer planning routine.
A QUICK NOTE ON PENS
Personally, I love Pigma Micron pens! My artist husband introduced me to them a year ago, and I haven’t looked back.
They’re amazing—archival ink, no bleed, fast-drying (super nice for this leftie!), felt tip, and easy-gliding. I can’t recommend them enough!
The Micron 03 (.35mm) and Micron 05 (.45mm)
sizes are my favorites, but the Micron 08 (.50mm)
is nice as well. (The Micron 05
size is probably my sweet spot.)
Some people love colored ink pens when they plan, but I currently stick to black ink for simplicity’s sake.
(You can read more about the Pigma ink quality here, if you’re nerdy like I am. 😉
A QUICK NOTE ON STICKERS
I know you can go hog wild with planner stickers, but I actually didn’t use any last year.
This year, however, I’m planning to experiment with some planner stickers to see if I like using them and how they affect my productivity.
I’m always tweaking how I use my Day Designer, and this is one area I’m excited to explore more! I’ll let you know what happens…
In Conclusion
Having a daily planner has helped me to stay organized and on top of things. And the way I use my Day Designer has definitely upped my productivity game!
If you use planner stickers, be sure to leave me some of your favorite types and brands below.
And leave me your favorite planning tips, too! I’m always looking for more hacks, tips, and ideas to implement.


I have a Day Designer for the first time and I am loving it. It’s so simple and streamlined. Thank you for sharing how you use it!
Simple and streamlined is exactly right! I think that’s what I love most about it! 🙂
Hi! Loved your you tube video, so helpful because I have been trying to find a planner and this one looks amazing and I am excited to try it for free with the printable! I was wondering if your planner is the regular or the mini version because I like the size you have. Thank you for sharing!!!
Hi Chelsey! So sorry for the delayed reply… I purchased the regular, full-size version. It gives you lots of room, or just extra white-space if you like that. 🙂
Do you purchase from their site or elsewhere?
Hi Marissa! Yes, I just purchased my planner directly from their site. 🙂
So excited that I found your blog and this article. I am a busy single mamma. I printed the daily non-dated planning pages. I use the “to do” and schedule for me and under “notes ” I put my kiddos to do at the top and then I used the other part of the “notes” for a list of people that I need to call, text, email, etc.
But I am wondering how do you keep up with your long term goals? Thanks so much!
Hi Becka! I’m so glad you gave the planning pages a try. This past year I started using Powersheets for my longterm goals, and was blown away by how amazing the system is! The Powersheets planner has an initial setup for the beginning of the year, as well as quarterly and monthly goal setting/ planning pages. It’s an investment for sure, but totally worth it in my opinion. 🙂