
If you’re ready to save money on your child’s clothing, simplify your laundry routine, and have more fun putting outfits together for your little one, then you’re in the right place! Capsule wardrobes for kids are the game changer you’ve been looking for.
Capsule wardrobes changed everything for us. My son, Jack, is just now coming up on his first birthday, and I finally feel like we’ve hit our stride with his wardrobe. I used to feel frustrated by his closet every time I went to get him dressed, even though he had tons of clothes!
Nothing matched. The few pieces that did work together seemed to get dirty right away. And as soon as they were clean again, something sinister would inevitably happen. It was starting to feel like a conspiracy!
Then everything changed. Enter: capsule wardrobes.
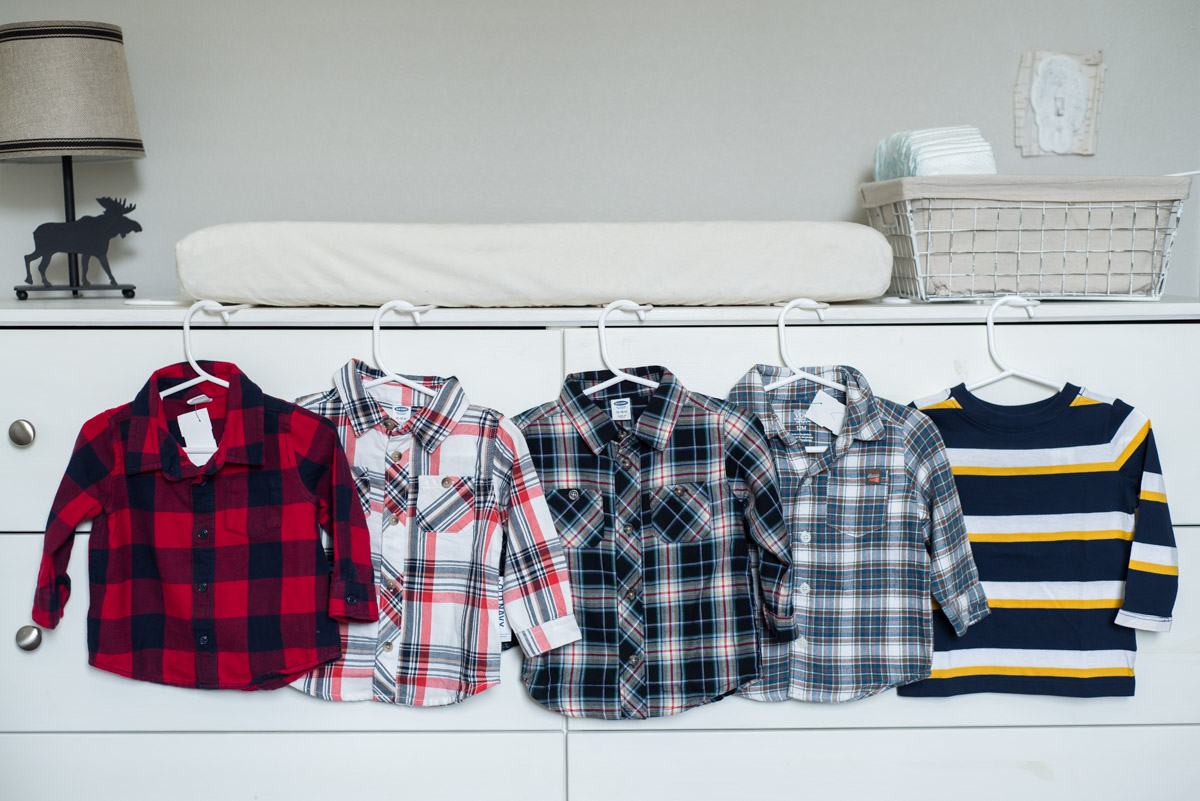
Now, I never feel confused about how to dress Jack anymore. Putting together outfits is fun and effortless—it literally takes me less than 10 seconds! His clothes always look cute and cohesive, and I don’t even have to do any work.
Well, not anymore. The initial process of creating capsule wardrobes for kids does take work and intentionality on the front end, but it’s worth it— I promise.
Step-by-Step Guide to Creating Capsule Wardrobes for Kids
In this post, I’ve put together a beginner’s guide on how to create capsule wardrobes for kids. I hope you’ll find it helpful as you seek to simplify your closets.
This system has worked amazingly well for me, and I’m thankful to have found it!
Let me know if you have any additional questions down in the comments section; I would be very happy to answer them!
(Not sure if capsule wardrobes for kids is actually going simplify your life and save you money? Read this post: 5 Reasons Why Creating a Baby Capsule Wardrobe is Life-Changing!)
Step 1: Streamline Your Space
Before we do anything else, we need to declutter. You might be temped to skip over this step, but resist the temptation! Decluttering is an important part of the process.
Before I first started Jack’s first capsule wardrobe, I began sorting through his newborn clothes and worked my way through each size. Even though I had already decluttered his clothes each time he’d grown a size, I had still kept more than I needed to.
Once we were several months away from his newborn days, I was feeling less sentimental and attached to every piece he ever wore. That alone helped me to let go of clothing we no longer needed.
I’ll admit, I actually really enjoy decluttering. It always feels amazing to get rid of the clutter, and my closets and drawers always look great afterward. But even if it’s not your favorite task, push through and clean out those clothes!
Here are a few benefits of taking the time to streamline your space…
- Going through your child’s clothes will give you insight for future planning, like helping you know which clothing brands to buy, and which ones to avoid. You want to make smart, intentional decisions.
- It will feel great to have clutter-free closet space, drawers, and storage bins!
- You’ll be able to sell unneeded clothing to get some cash for your child’s next wardrobe.
Purging clothes your child no longer needs also serves as a great reminder not to overbuy in the future.
Through the decluttering process, you will see which items you value most, which ones you truly loved dressing your baby in, and which clothing brands held up the best. Be honest with yourself as you go through this process.
What To Save
To begin, pull out the bins of retired baby clothes and separate the clothing by size. Start with the newborn size and work your way through your child’s current size.
It’s overwhelming at first, but keep calm and push through— this is the hardest part, so don’t give up! I recommend saving only…
- a few of your favorite sentimental pieces
- well-made clothing in nice condition
- pieces you could honestly see yourself dressing your next baby in
If you’re holding onto tons of clothes for sentimental reasons only, remember that you probably have lots of pictures of your baby wearing these items! Save only your very favorite pieces and remember that you will always have your memories to look back on.
What To Do With the Excess
You can greatly reduce the cost of your child’s next wardrobe by selling the clothes they no longer need. Places like OfferUp, Poshmark, eBay, Craigslist, Facebook, and local consignment shops are great places to sell used clothing.
Don’t forget— you can also give some of your child’s extra clothing to a family who needs them, which would bless both of you!
Step 2: Evaluate Your Current Situation
Now that we have a clean slate to work with, we can move forward to the evaluating stage.
- What season is approaching?
- What size will your child be in the upcoming season?
- Which pieces does your child currently own that fit well or will fit well in the upcoming season?
Jot down the answers to these questions in a notebook, on a sheet of paper, or in a digital file.
Step 3: Plan Your Child’s Capsule Wardrobe
Alright, here comes the fun part— designing your child’s capsule! Be prepared to stick to whichever colors and styles you select. This is very important for a cohesive wardrobe!
The Color Palette
First off, let’s choose your child’s color palette. Take the season into consideration, as well as your child’s skin tone, hair, and eye color, if you’d like. (My son, Jack, is definitely an “autumn” like both me and my husband, so I like dressing him in clothes that compliment his coloring.)
Choose…
- 3 Primary Colors
- 2 Neutral Colors
- up to 4 Accent Colors
For my 9 month old’s fall and winter capsule, I chose…
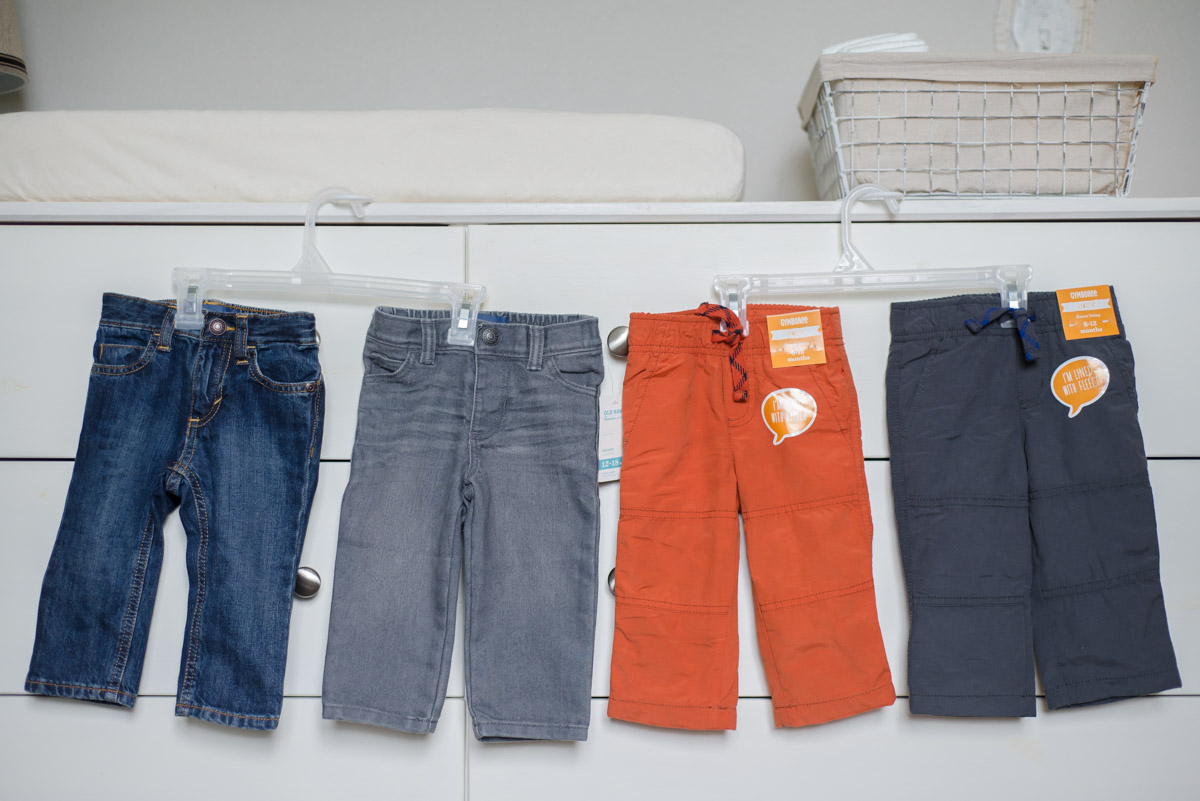
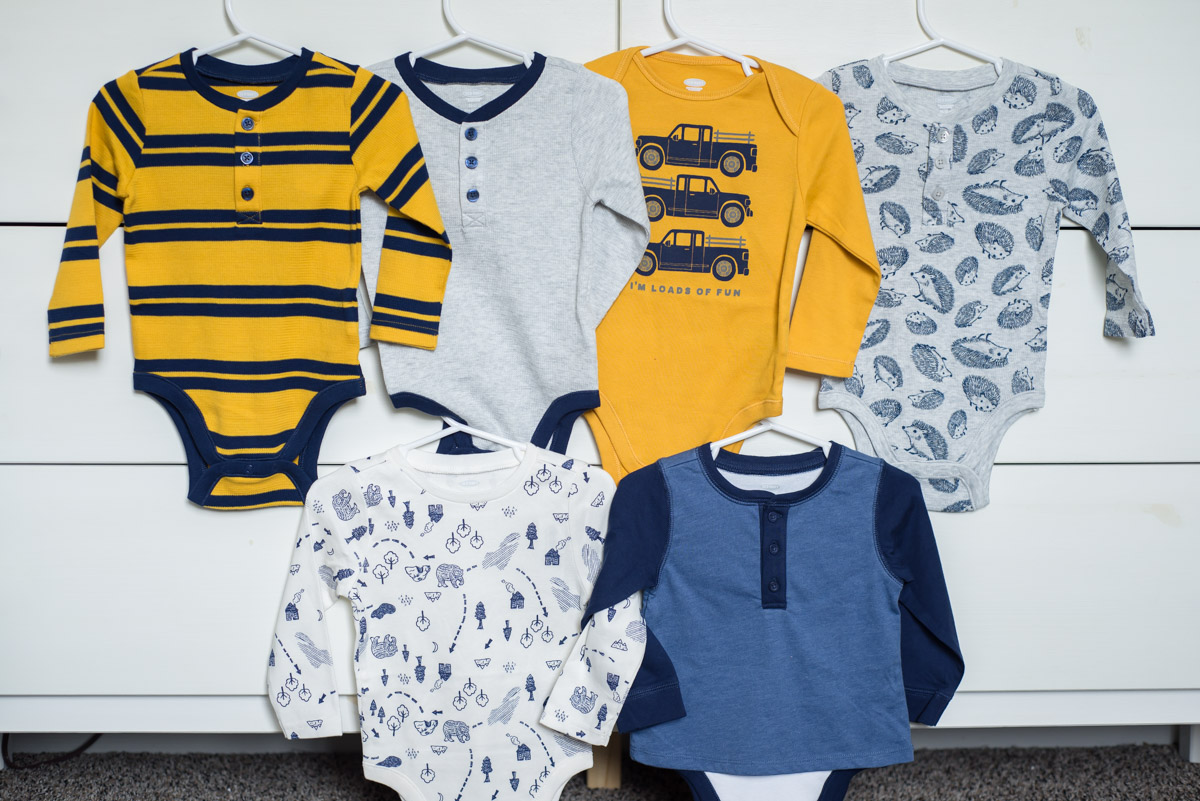
- Primary Colors: Navy, Light/ Medium Grey, Mustard Yellow
- Neutral Colors: Black, White
- Accent Colors: Red, Orange
(If you’re looking for some color palette inspiration or more instruction, check out this amazing guide from Anuschka Rees.)
Keep your color palette simple! I know it can be easy to get carried away, but this will really help the clothing you purchase to look cohesive and work well together.
Choose a Style for the Capsule Wardrobe
Classic, preppy, frilly, outdoorsy? Soft and sweet? Masculine or feminine? Choose a style that you like and matches your little one’s personality!
Having a style in mind will also help your clothing pieces to look connected and put together.
Which Pieces and How Many
Consider your lifestyle and the climate in which you live. Is your child home most days? Does he need dress/ church clothes? Do you spend a lot of time outside?
Your lifestyle will dictate which pieces will work best for your child, and how many of each are needed. In the colder months, you’re more likely to need more pieces than in the warmer months because of layers and jackets and such.
For instance, we regularly attend church and Jack needs to have nice clothes separate from his everyday clothes. I have 3 nice shirts and 3 pairs of dress pants—as well as 2 bow ties—that can we mix and match to keep things interesting.
Step 4: Set Your Budget
Another beautiful thing about capsule wardrobes is that they can work with literally any budget! And they’re especially conducive to smaller budgets, in my opinion.
Capsule wardrobes can save you lots of money, but they don’t necessarily have to; they’re completely customizable. You can choose to have a 25 item wardrobe that costs $20 per piece if you’re shopping at Gap, or $1 per piece if you’re shopping garage sales.
Remember, it’s important to set your budget before you start shopping!
How to Set Your Clothing Budget
Because of Step 3, you already know exactly which pieces you’re looking for. That makes setting your budget much easier. You won’t be surprised later because you forgot to buy pajamas or dress shoes.
Here’s how I went about setting my budget:
- Estimate how much each piece will cost. Think about what you normally pay at garages sale and thrift stores. Check online retailers for pricing.
- Write down your cost estimate next to each line item. Doing math in your head may lead to miscalculations! Plus, it’s easy to refer back to your list while you’re shopping to make sure you don’t overspend.
- Total up your estimates. Add everything together and write that number down at the bottom of your page. I’d recommend adding in a little extra for wiggle room, just in case.
What We Spent
We spent around $150 on Jack’s autumn and winter capsule. That might sound like a lot to you, or it might not sound like much at all.
For us, it was a good number. I’ll probably spend less on his next capsule because he won’t need layers in warm weather.
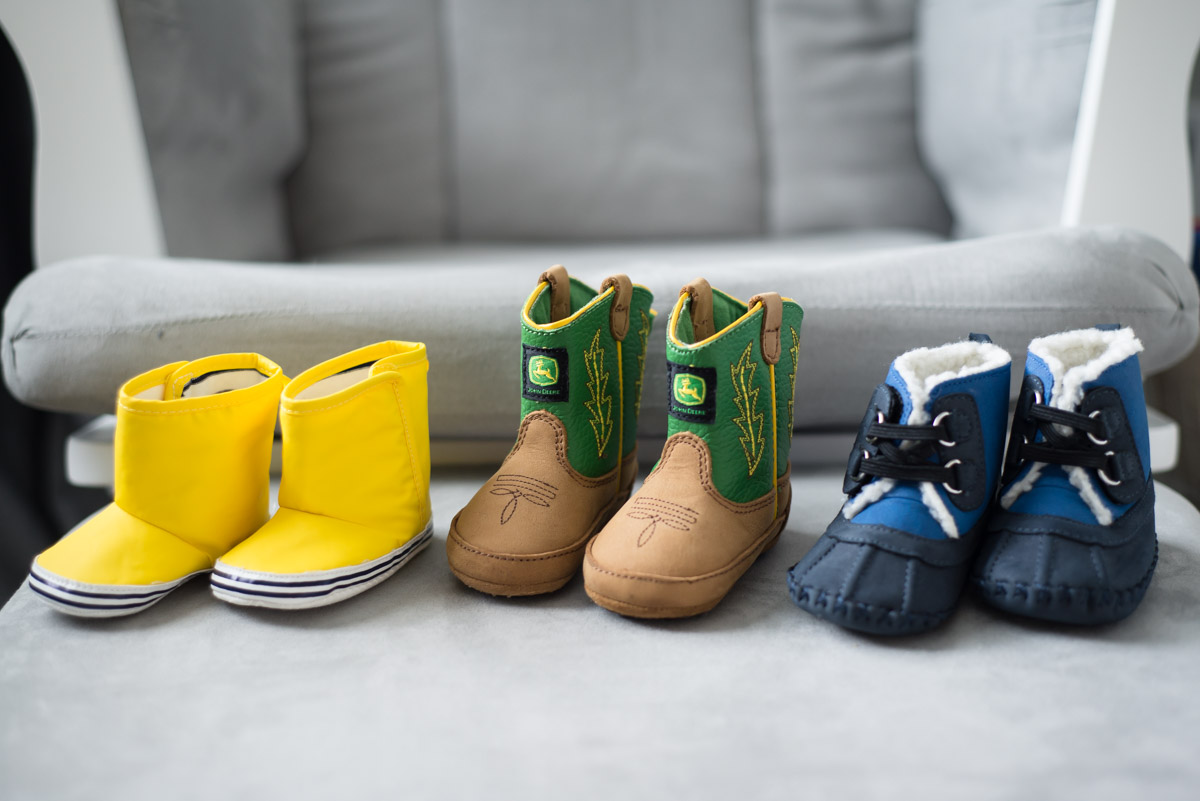
Jack has around 40 pieces for the fall and winter (including pajamas and shoes). That includes everything he needs for those 2 seasons: shirts, pants, vests, sweaters, jackets, dress clothes, socks, shoes, pajamas, etc.
He’ll probably grow out of a few things (like his shoes and footie pajamas), but they’ll be easy to replace.
Side Note: I chose to combine 2 seasons into 1 capsule because Jack was almost big enough to wear 12-18 month clothes going into autumn. I’m pretty confident that he won’t grow into the 18-24 size until spring, so I’m trying to stretch my dollars! I purchased a few extra pieces since I’m trying to make these clothes last through 2 seasons.
Step 5: Shop with Intention
You’ve decluttered and you’ve planned. Now it’s time to start bringing beautiful clothing pieces into your child’s capsule wardrobe! This is the step where you start to see your hard work pay off.
I enjoy shopping for Jack’s clothes more than I enjoy shopping for my own, so this step is a blast for me! Here are a few tips to help you finish off your capsule.
Stick to the Plan
You have your plan, and your have your budget. Stick to both! You’ll thank yourself later.
Avoid buying cute things just because they’re an amazing deal. It’s hard—believe me, I know! But check your list.
Is the aforementioned cute item listed, and does it fit with your color scheme? If so, toss it in your basket! If not, leave it behind for someone else.
Remember, you’re saying “no” so that you can say, “yes” to something better, something that’s a truly great fit for your child’s capsule wardrobe.
Money Saving Tips
1. Consignment shops, thrift stores and garage sales are your friends. I love that I can find high-end clothing for pennies on the dollar when I buy used! Quality clothing lasts longer and fits better. However, be selective about the condition so that they last.
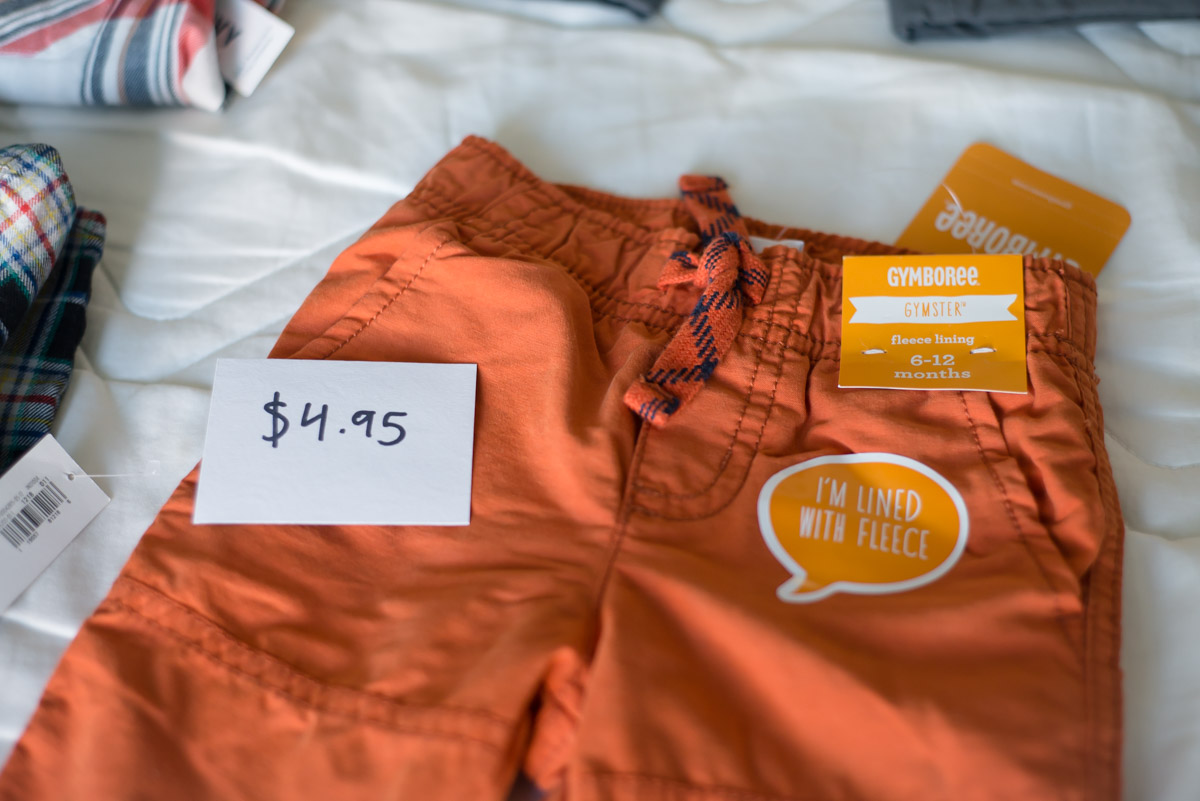
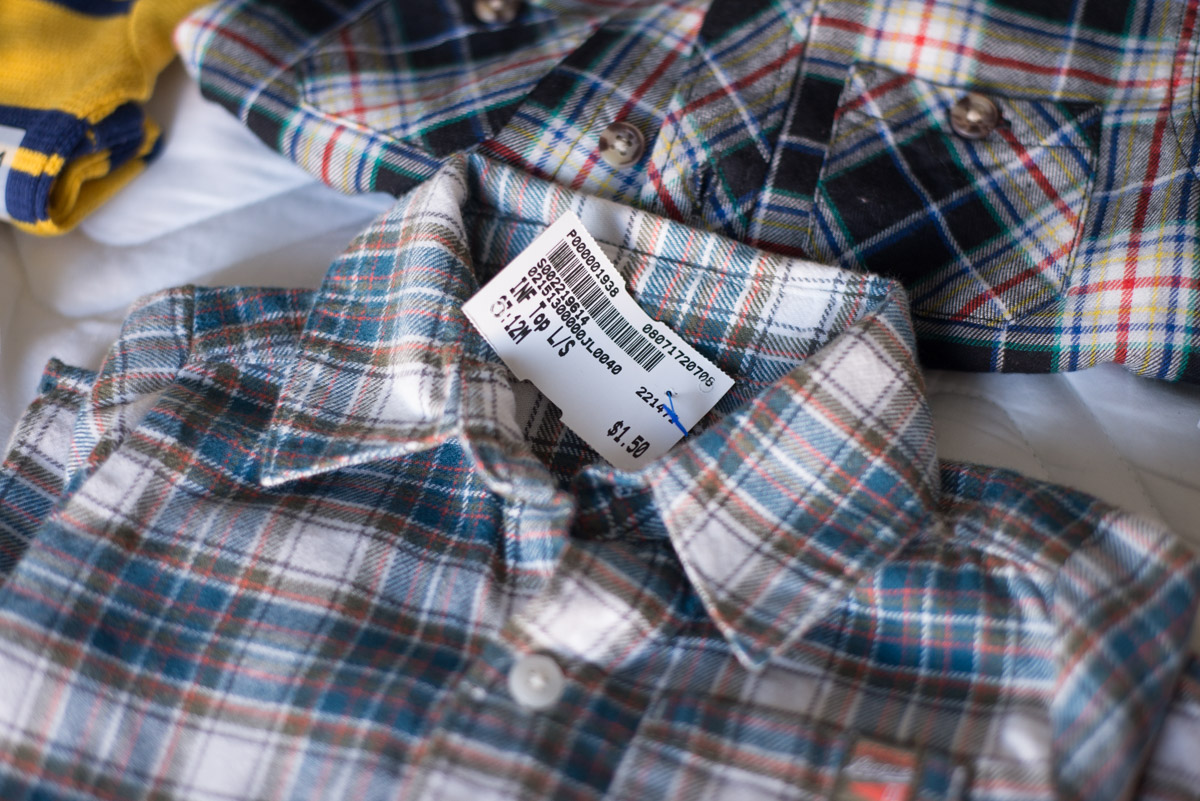
2. Check sales and clearance often, and take advantage of store promotions. Because I took advantage of Old Navy’s Super Cash and Gymboree’s Gymbucks, I was able to get brand new clothes for consignment shop prices! I did most of my store shopping online, which helped me to stay in budget since the card tallies as I shop.
3. Wait for it. Wait for the right pieces. There will always be sales, and there will always be adorable children’s clothes to buy. Don’t compromise! Stick to your list and practice patience.
4. When in doubt, buy it anyway. This one sounds counterintuitive, but bringing home a few extra pieces might help you to balance your child’s capsule. You can always return them later.
Step 6: Analyze and Finalize the Capsule Wardrobe
You’re in the home stretch! By now, you probably have all of your shopping done, and you might have ended up with a few extra pieces to evaluate. That’s okay—we’re going to fix that now.
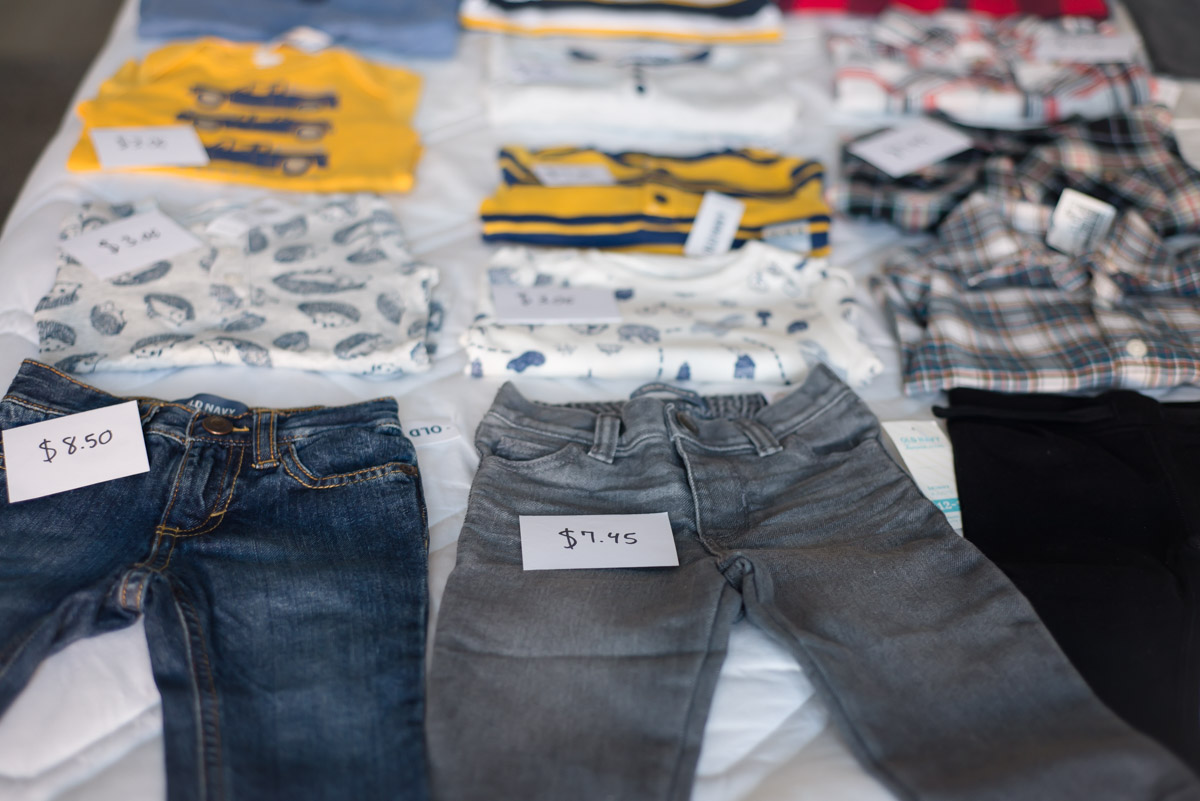
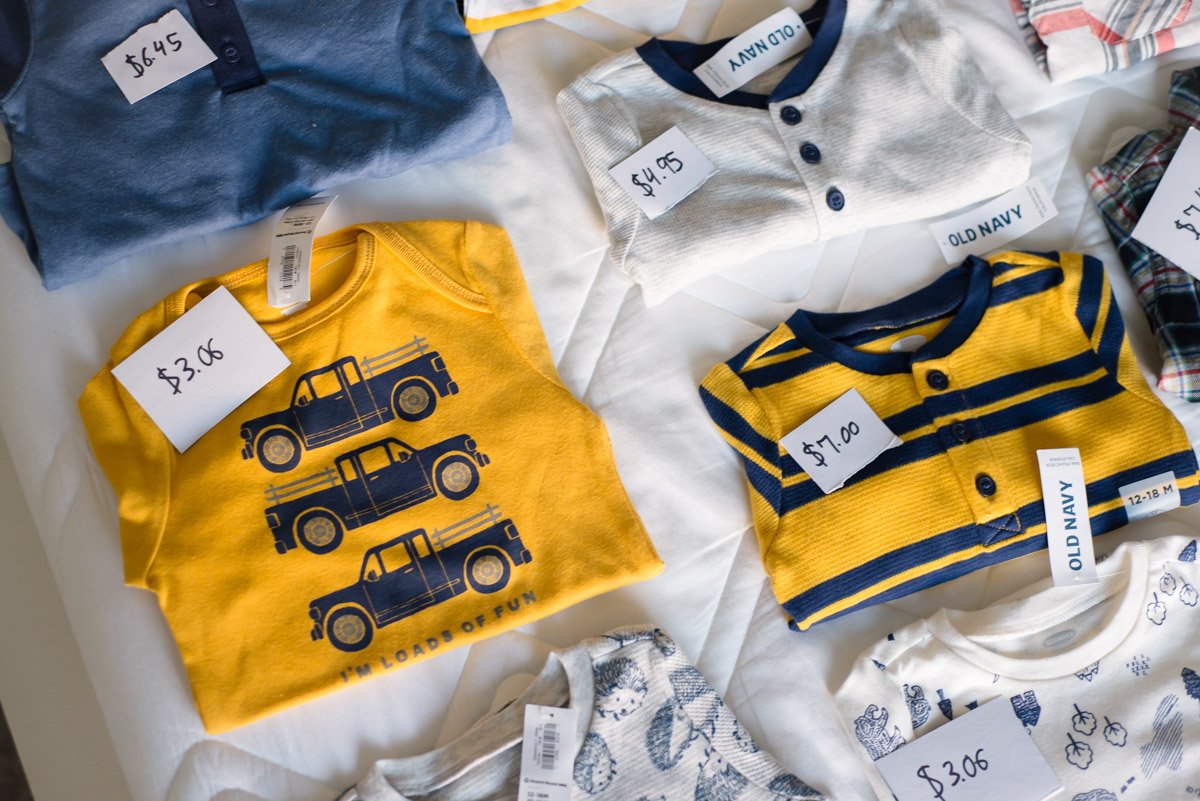
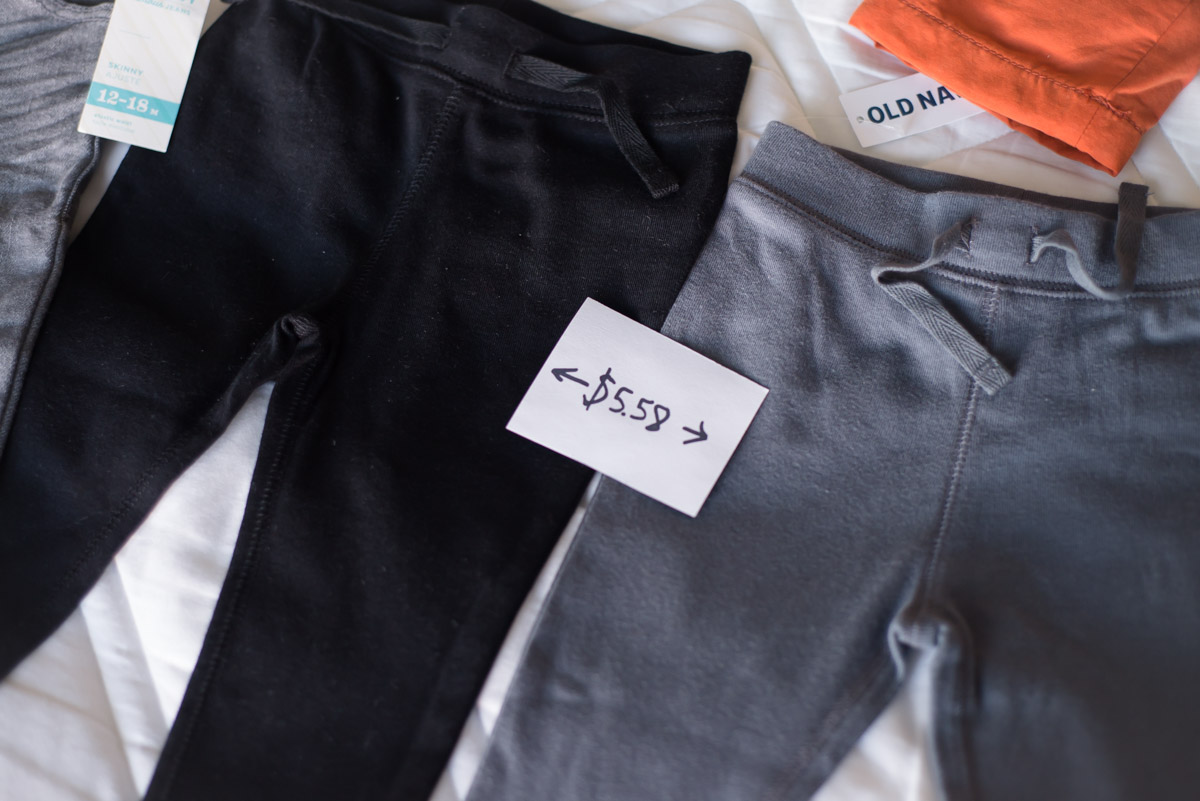
When I had finished my shopping, I laid out every piece clothing all over my bed. Then, I wrote the price of each item on a scrap piece of paper and placed the papers on the clothing.
This helped me to be less emotional and more strategic about my purchases. I could easily see which tops cost me $3 and which ones cost me $7. Which ones fit into the budget?
This also allowed me to better balance Jack’s capsule. Is there too much of one color? Is a certain pattern sticking out like a sore thumb?
You can answer questions like these easily when you see your child’s capsule as a whole.
Step 7: Your Capsule Wardrobe System
I highly recommend keeping out only the clothes your child is currently wearing. This will help tremendously when you’re putting together outfits!
For simplicity’s sake, I hang up most of Jack’s clothes in his closet. I hang them up straight out of wash and there’s no folding later! The dryer wears clothes out like nobody’s business, so I try to avoid using it when I can.
I do fold Jack’s pants, pajamas, and socks. These all fit in 1 drawer, so there’s no hunting involved. Put together a simple system that works for you! If it’s functional, you’ll use it.
A Final Word About Capsule Wardrobes for Kids
An important truth to remember when putting together capsule wardrobes for kids is this: Your child’s capsule will evolve over time.
I’ve already learned so much since I started, and I’m pretty sure Jack’s next capsule will be simplified and streamlined even more!
Be patient with yourself as you go through this process. It’s a great time of learning and intentionality. Your first capsule will likely take you the longest amount of time, but as you continue using a minimalist wardrobe, the process will feel more intuitive.
If you have any questions, be sure to leave them down below and I’ll do my best to answer them! I’d love to hear about your experience creating capsule wardrobes for kids as well!







Thank you so much for the details in this post! I’m looking forward to trying it out soon as I do a lot of shopping at Spring consignment sales in April. I love decluttering too! Though the task has become a little more challenging with baby hands that love to get involved and unfold and run away with things!
Let me know how it goes this spring! 🙂 I’m excited to plan Jack’s springtime wardrobe in a couple months. I think I’ll be able to buy fewer clothes than I did this past fall and winter. And I’d love to try hitting up more garage sales! Although, spring weather here in the PNW can be a little crazy. 😉
This has been the most informative post about making a kids capsule wardrobe that I’ve read. Thank you!
Thank you so much! That totally made my day! 🙂